The Logos mobile app is one of my favorite Bible apps. It’s free and comes with 36 resources, which makes it a great choice for reading and study on the go. It has my favorite marking features and I love being able to turn off chapter and verse numbers to create my on reader’s edition. I’ve used the app for several years and written a few tutorials for it. Faithlife has just released the largest update the mobile app has ever had. In this review I’ll take a look at the Logos mobile app’s newest features.
For reference – I’m reviewing the Logos Mobile App’s new features using a Lenovo 10″ tablet with Android 6.
New Navigation
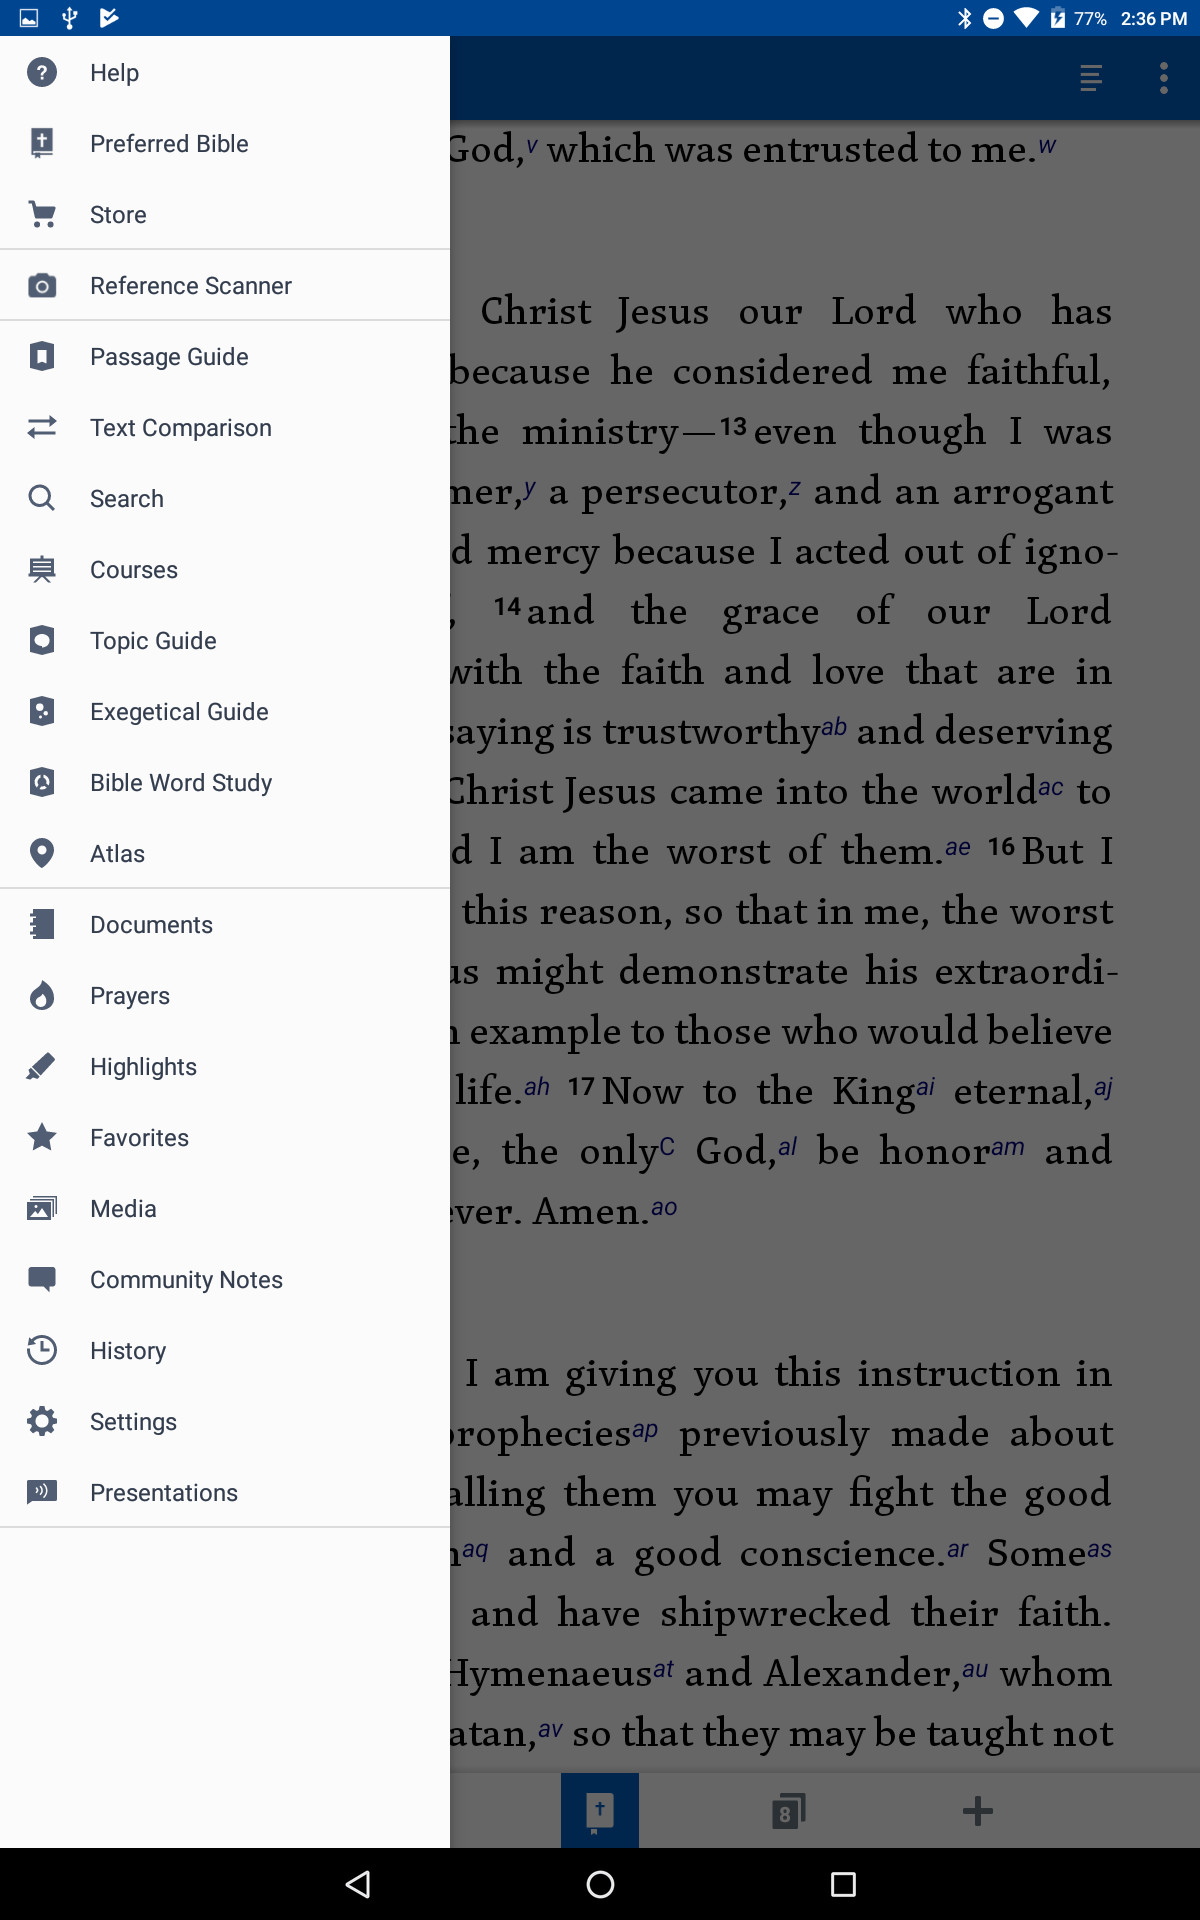
The first thing you’ll notice that’s different is the menu system. Before, there was a lot of buttons across the top and all of the menu items was in the hamburger menu (the three horizontal lines) in the upper left corner. Now, the top menu bar is cleaner and several of the major navigation items have been removed from the hamburger menu and placed within a bottom men bar. At the bottom you’ll find home, library, your preferred Bible, tabbed browsing, and a + button to open a new resource.
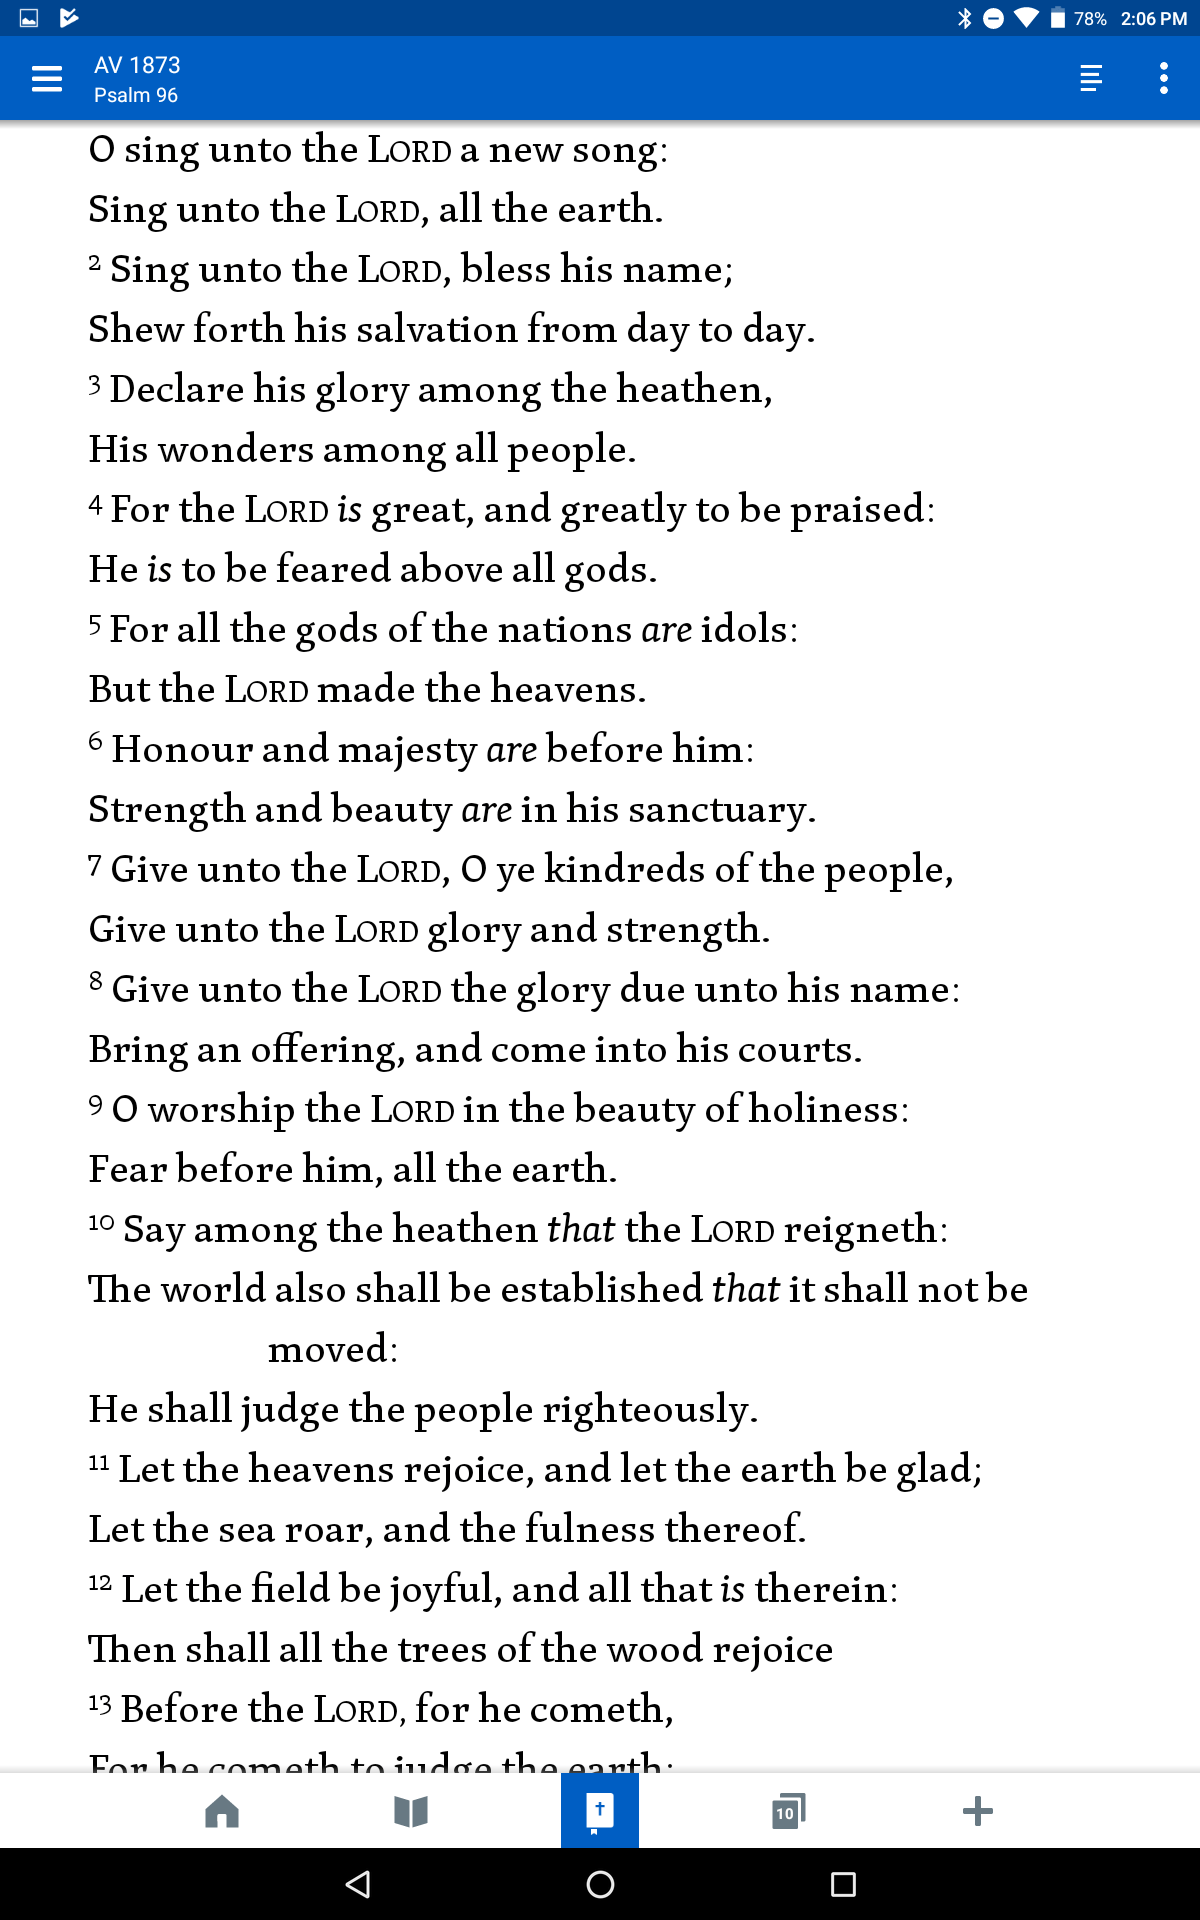
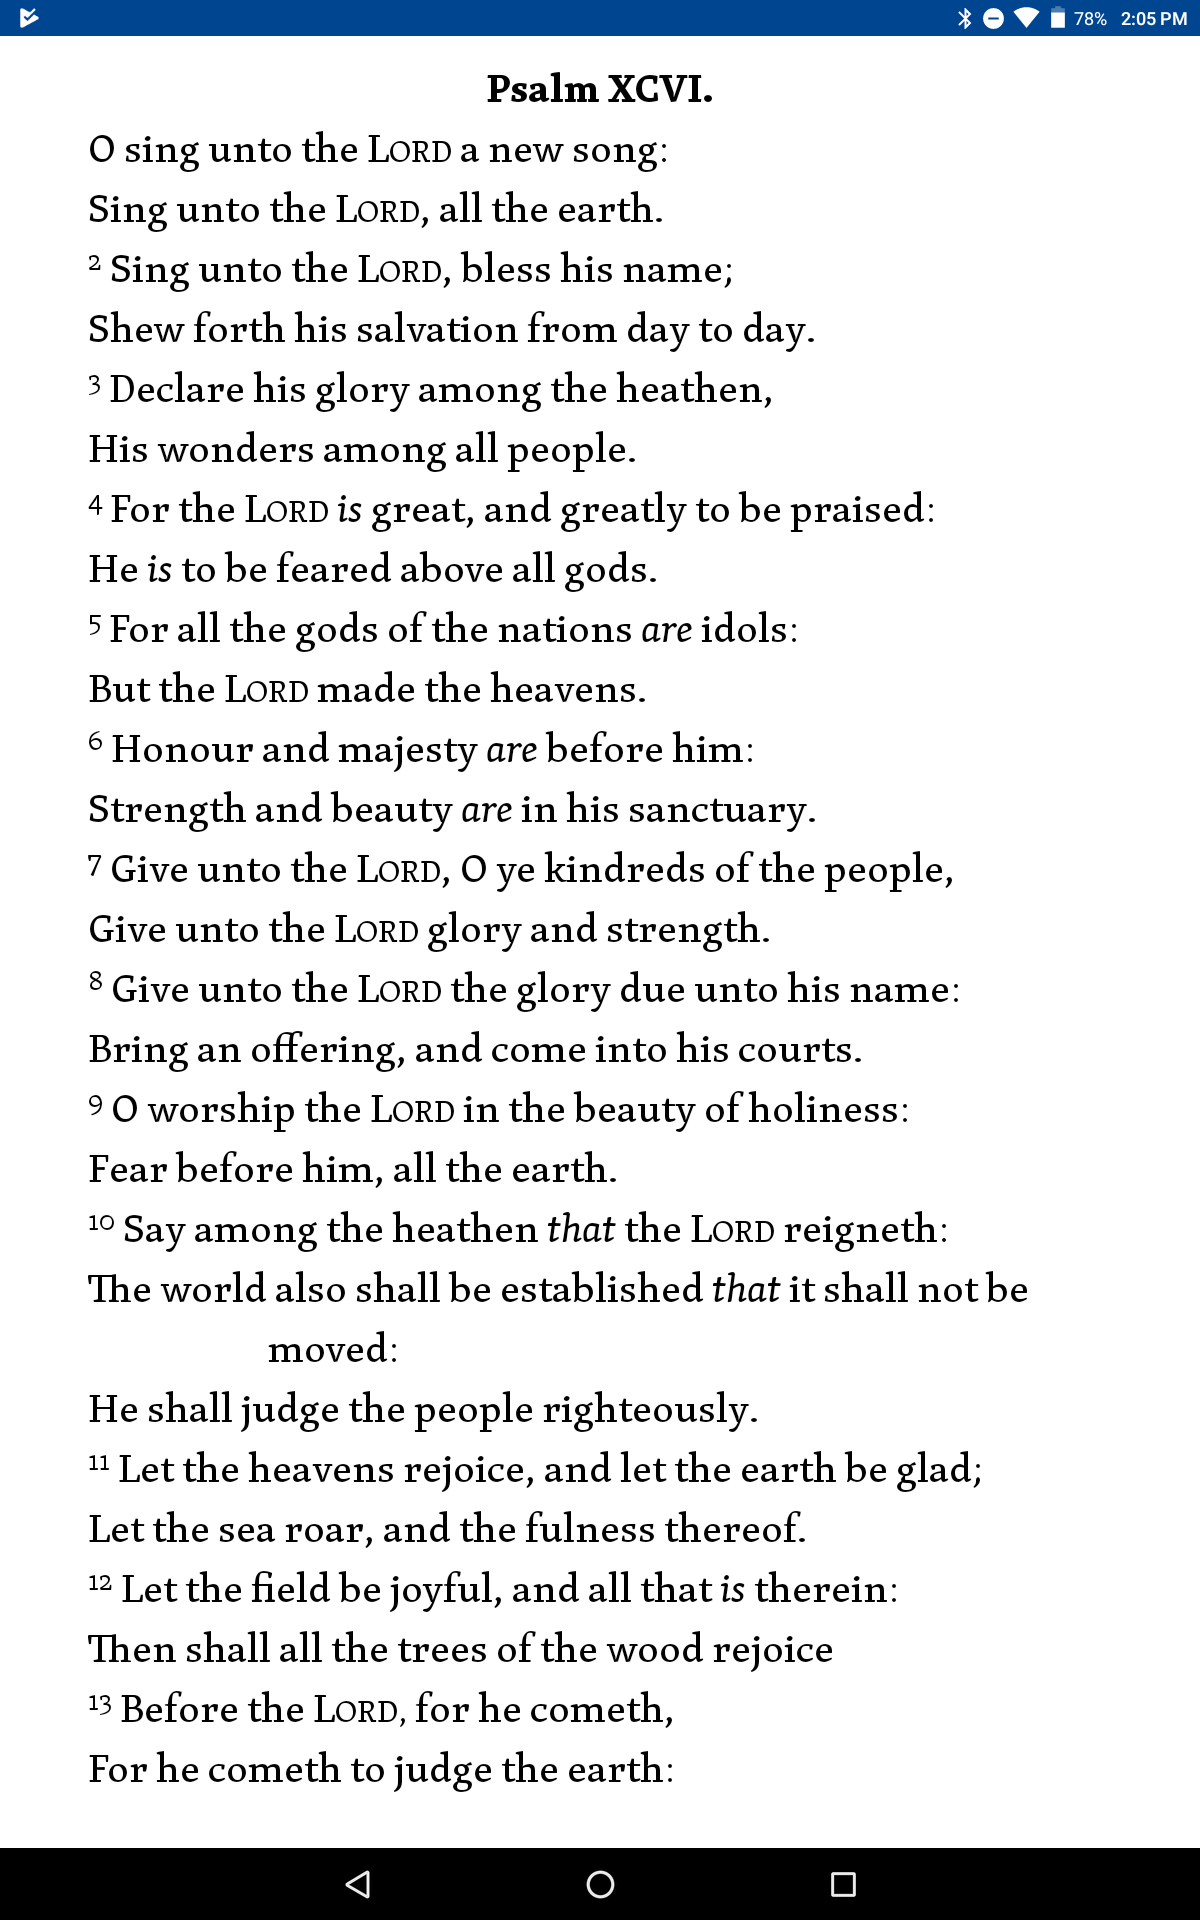
Tapping the screen hides the menu just like before. You’ll need to hide the menu in order to see the first and last line of text. Before it just made the screen cleaner. If you’re connected to the Internet a small tab is visible in the bottom left corner. Hold your finger on the tab to select it and slide it upward to reveal bookmarks and sharing buttons.
Tabbed Browsing
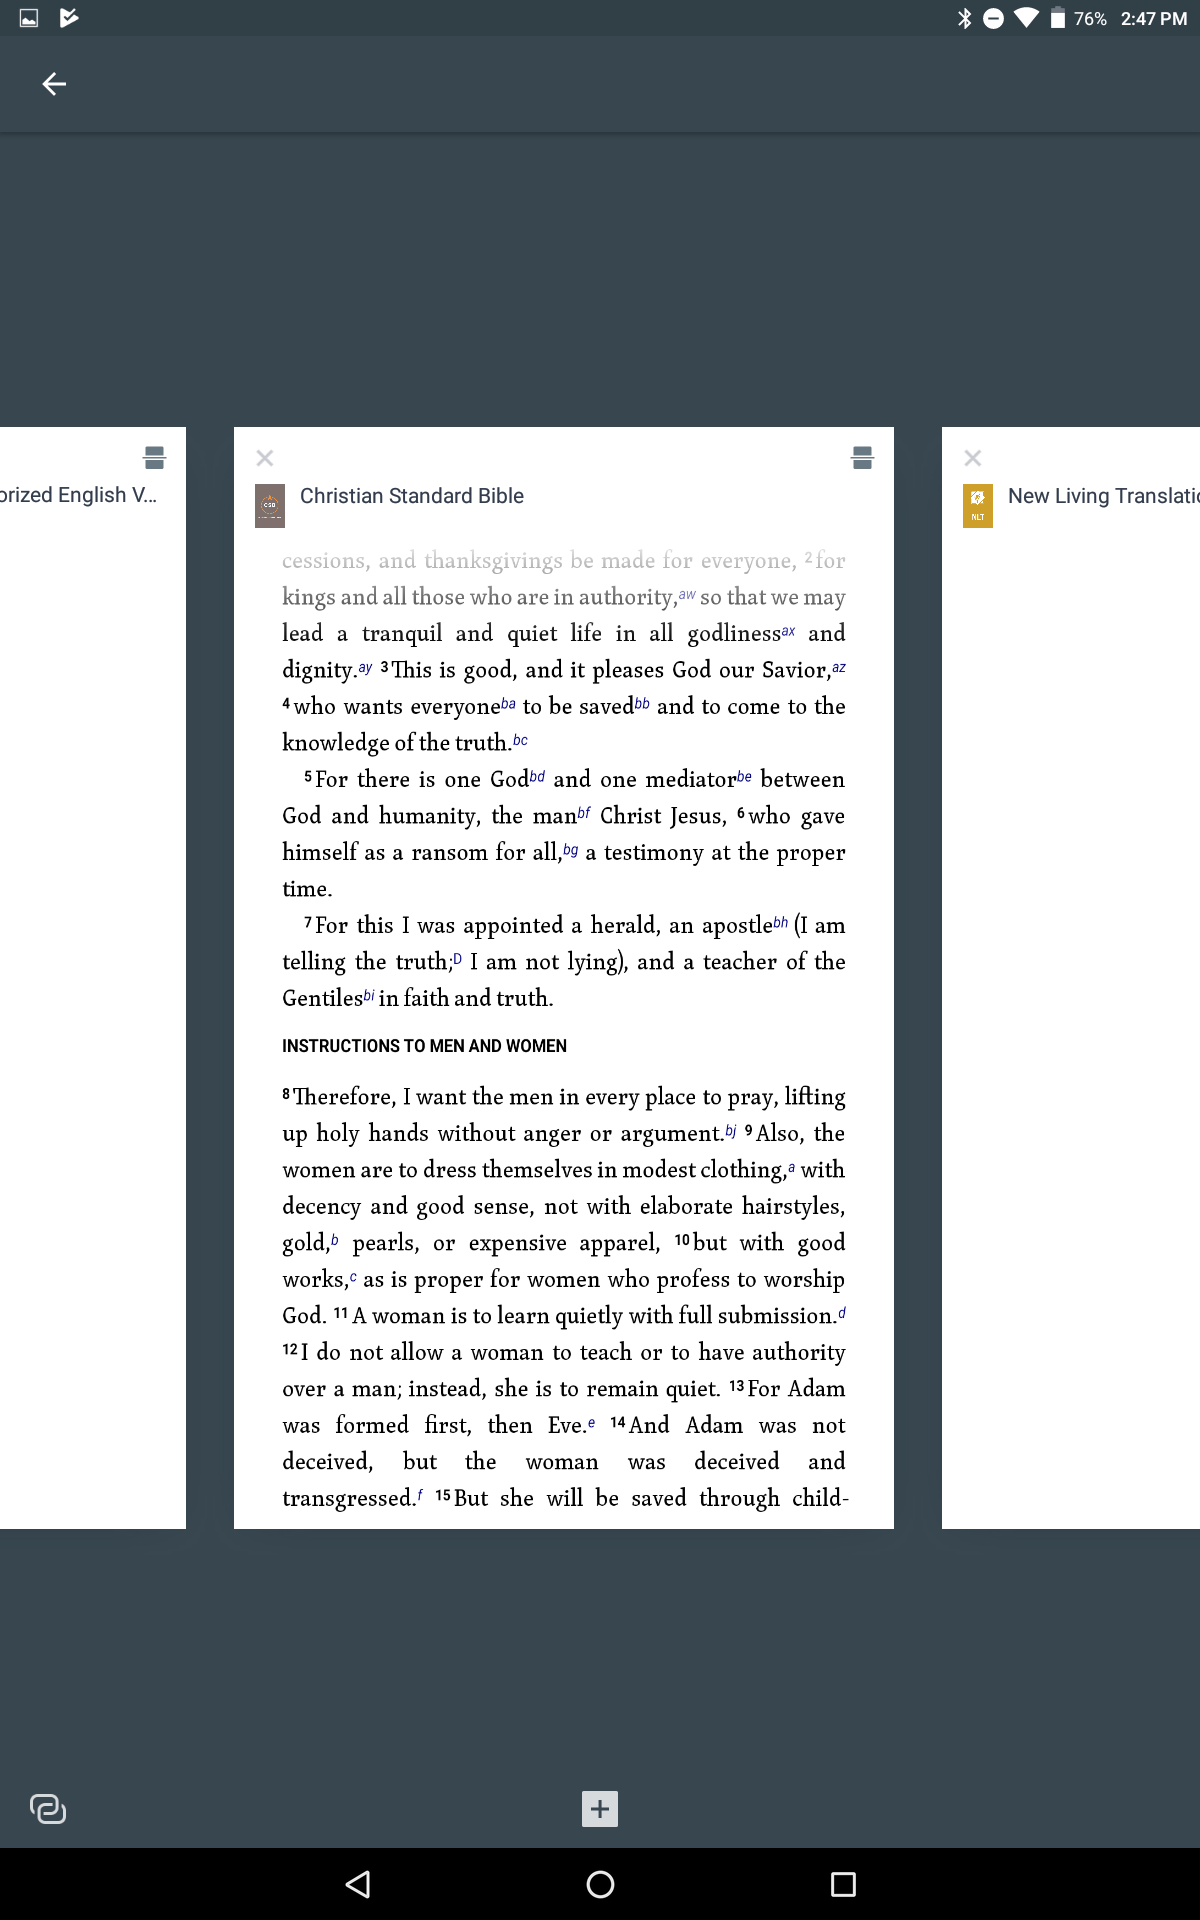
Tabbed Browsing is the most import new feature as it changes the way the interface works. Tabbed Browsing allows you to open as many resources as you want and switch between them. This is excellent for reading multiple translations in different places, reading multiple books, setting up a study environment, etc.
Click the Tabbed Browsing button in the bottom menu on the reading screen (as seen in the section above). That menu icon will show the number of tabs you have open.
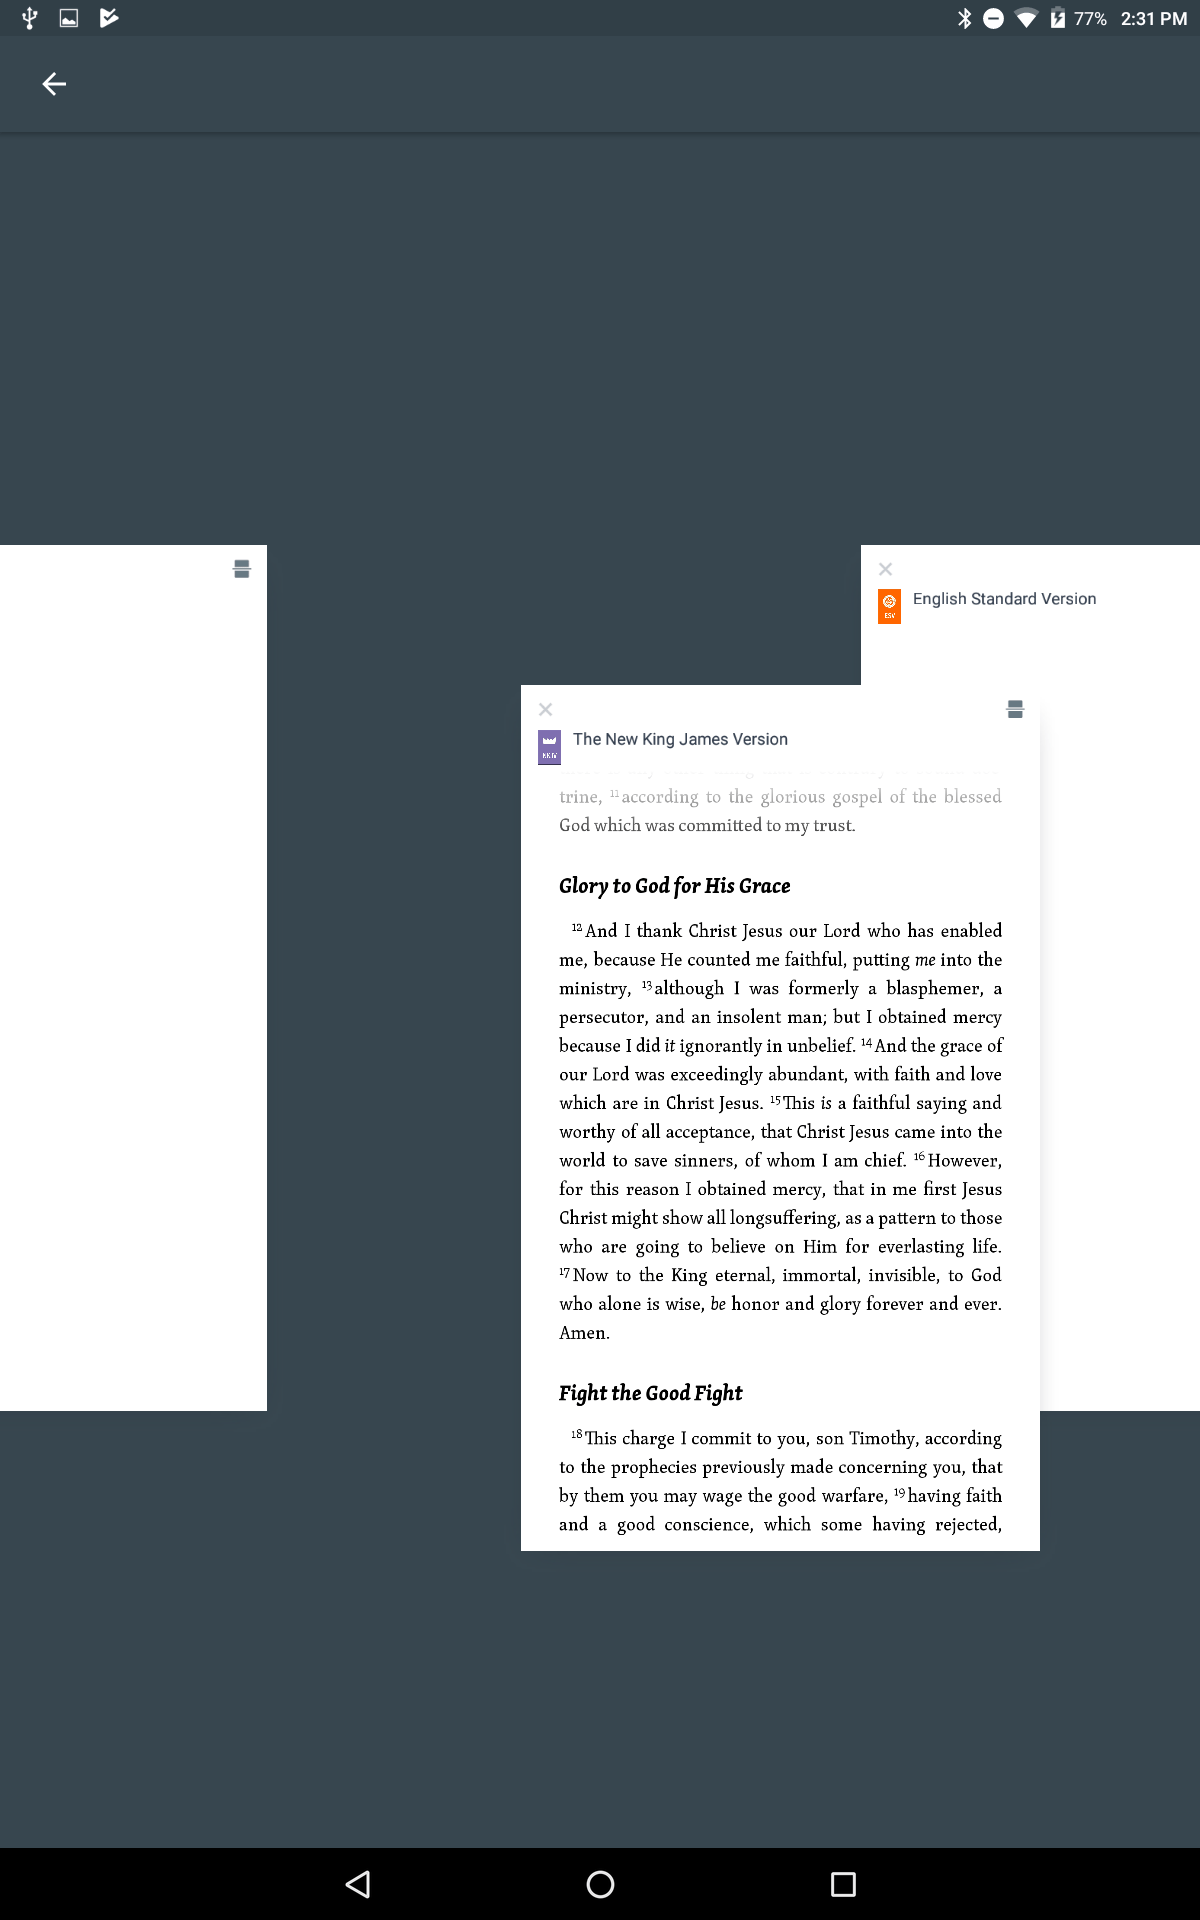
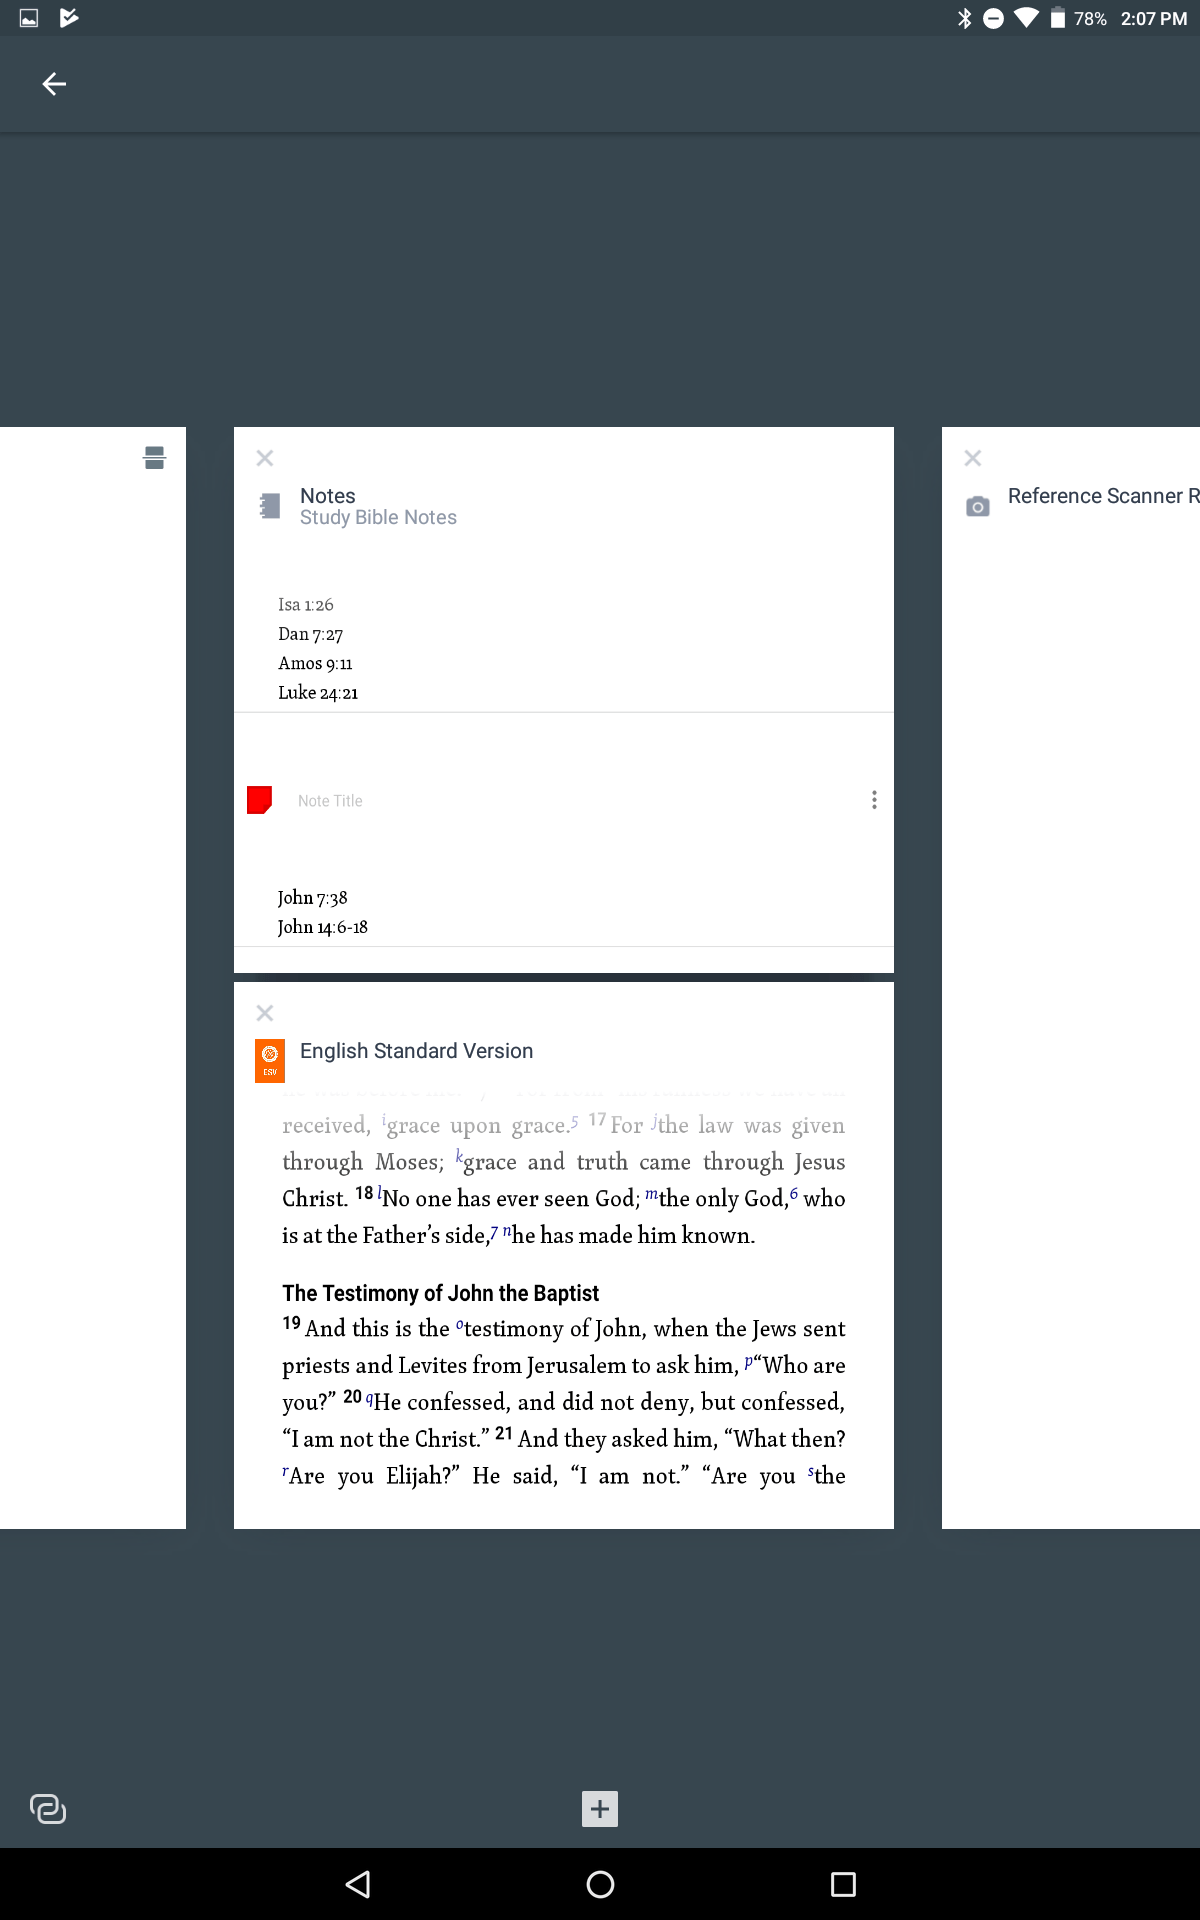
Scroll right or left by swiping the screen. Here you can add new tabs, delete tabs, open new resources, open a split screen (more on that in a minute), and rearrange them by holding down on the tab you want to move and drag it to the location you want it. The tabs show a the name of the resource and give a screenshot. The far right and left of the resources has a + that you can click and open more resources.
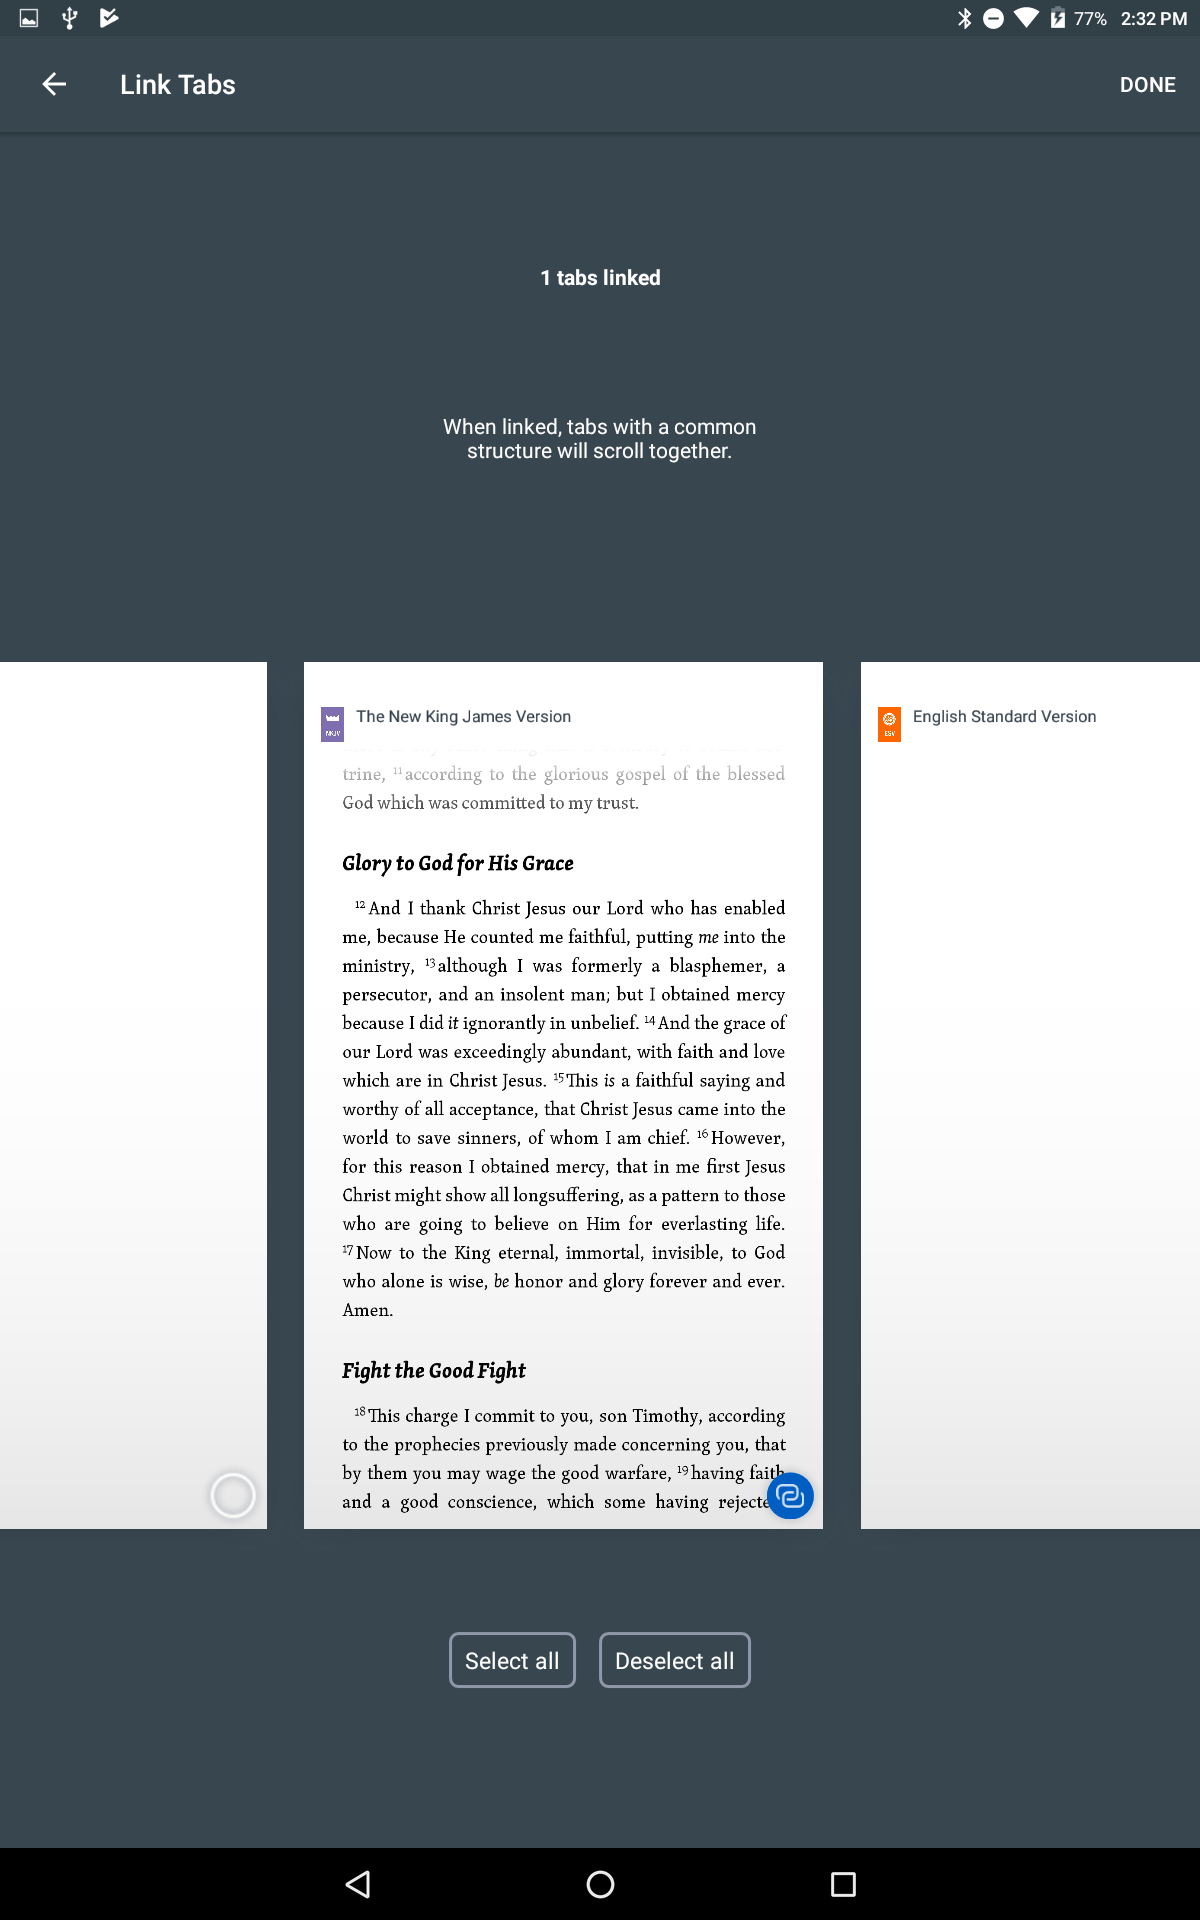
You can link any of them together so they follow each other, or you can leave them unlinked so they’re in the same place you were when you left them. Link them by selecting the link icon in the bottom left corner and then select the tabs you want to link. You can also click Select all or Deselect all. It shows you the number of tabs that are linked and places a linked icon on linked tabs. Click DONE in the upper right when you’re finished or click the arrow in the upper left to leave the screen.
Split Screen
Split screen is how the Logos app shows two resources at once. It works differently now. Before, there was a circle in the corner that you could grab and slide to take as much or as little of the screen as you wanted. You could select the divider bar to close it. Now, you have to open the tabbed browser, scroll to the tab you want to have a split screen, select the split screen icon in its upper right corner, and choose your second resource. This tab will be the only tab that shows the split screen.

You can’t hide the split screen completely. If you want to see the tab without a split screen you’ll either have to go back to the tabbed browsing view and click on the x to close the split screen or open the resource in a new tab.
One issue that I had was when I clicked on a verse in the second screen and selected to open the reference it opened in a new tab rather than in the Bible in the split screen. This might be on purpose, but I’d like to see the option to go to that verse in the split screen. This might be a better choice for most uses though, considering how easy it is to change tabs.
Another issue I had was when opening my documents. I wouldn’t allow me to open the document at the bottom of another resource. Instead, it wanted to open the document in full screen and then I could open a resource in the bottom of the split screen. This just means I have to open the document first and have my Bible in the bottom screen and notes in the top screen. This isn’t a negative – it’s just something to remember when I’m opening my own documents such as notes or sermons.
Document Scanner

The Document Scanner adds an interesting feature. If you’re reading a printed book and see Scripture references, you’d normally have to open your Bible and turn to those references to see them. This isn’t a problem if it’s just a few references, but when there are lots of references that can become time-consuming. The Document Scanner takes a scan of that page and makes you a list of all the verses within a new tab. You can read every verse from this list rather than turning to them yourself.
Scannning documents is just like using the camera. It even has camera settings. I scanned several documents and it gave me an image of the scan, the chance to rescan, and the list of references. I could click on each verse to open in a Bible if I wanted. The list includes arrows so you can open or close the verse and just see the references. It’s easy and intuitive.
I scanned the cross references from a Bible and it gave me an excellent list of verses for study. It listed 17 references, and displayed the first 3 and gave the rest with arrows to open them. I even tried hand-written notes and it picked up several references. The only thing that gave it trouble was pencil that was written lightly and handwriting that wasn’t written very well.
As far as I could tell the scanned document will be in my list until I delete it. I was able to have several scanned documents at a time. I’d be amazing to be able to name them and save them in my documents.
Ending Thoughts
I like the new features of the Logos mobile app. It’s always difficult to get used to changes, but for me these changes are welcome and make the app much more useful. The menu is cleaner, certain items are easier to find, the tab browser makes it easy to switch between resources and opens up lots of reading and study possibilities, and the document scanner provides the easiest method of getting a list of verses that I’ve seen (and is one of the most interesting features I’ve seen in a Bible app).
I highly recommend the Logos mobile app even if you don’t use the free desktop app or own any Logos packages. The app is free and includes 36 resources for Bible reading and study. It has my favorite highlighting tools, you can turn off the chapter and verse numbers to create a clean reader’s edition of any Bible, and the new tab system and document scanner makes it a lot more powerful Bible reading and study tool.
Get the App
The Logos mobile app is available for both iOS and Android:
Get Logos for iOS
Get Logos for Android
Get Logos for Fire
What do you think about the Logos Mobile App updates? Let us know in the comments below.


