One of the features that I find invaluable in any Bible software is the ability to easily compare Bible translations. Logos 9 makes this easy with the Text Comparison tool. In this Logos tutorial, we’ll take a look at the Text Comparison tool and see how to use it and what it can do.
Use our partner link to get 30% off Logos 9 feature set from now until the end of July.
Let’s get started.
How to Use the Logos Text Comparison Tool
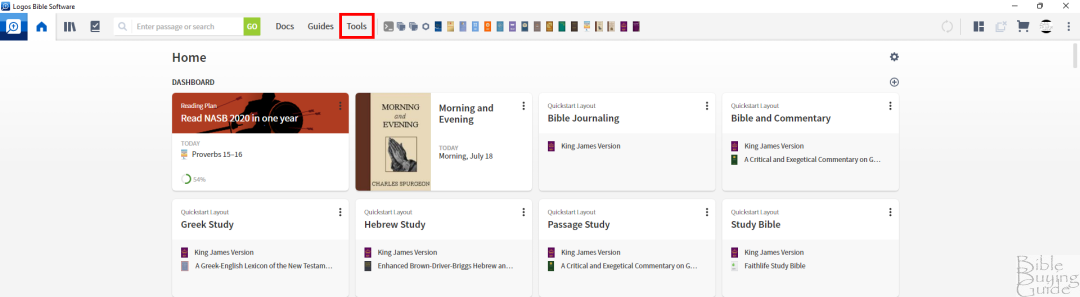
Select Tools at the top of the screen. This opens the list of tools, showing icons for the most prominent tools followed by a list of all the tools.
You can also search for the tools you want. In this case, the tool we need has a large icon.
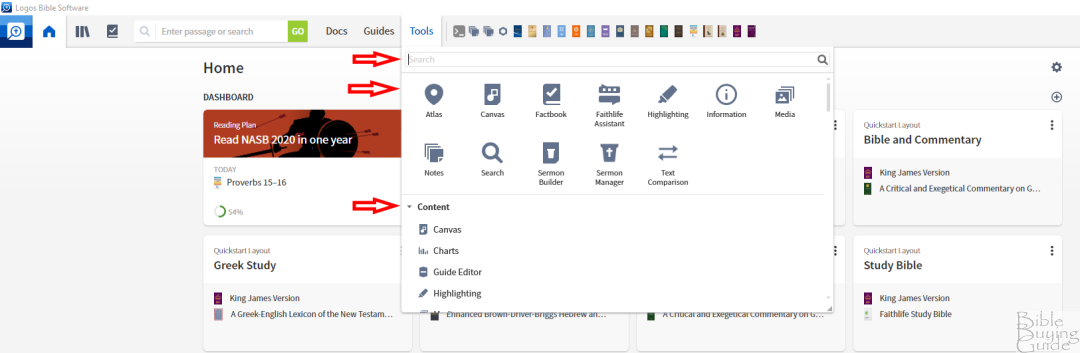
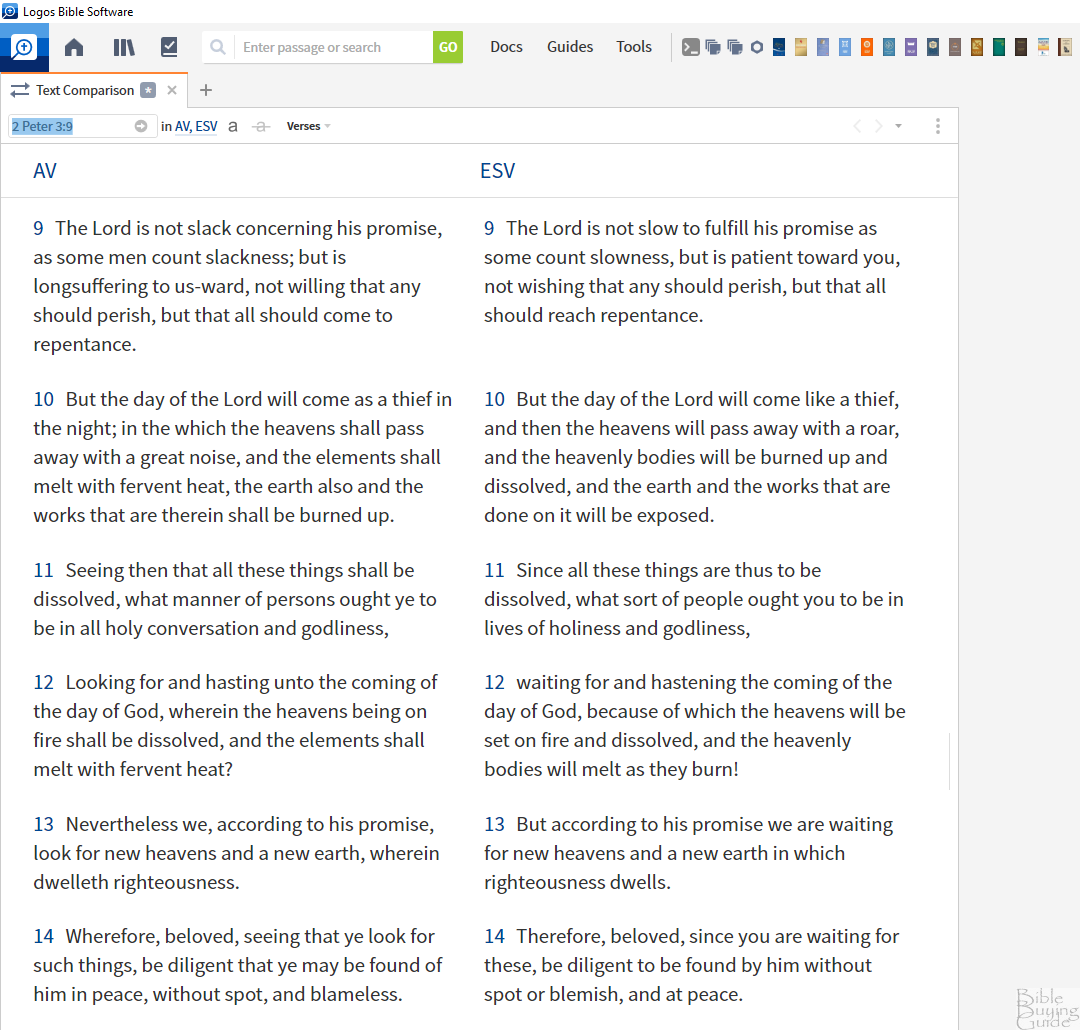
Click the Text Comparison icon. This opens a window with translations for use to compare.

Here, we can choose the verse, the Bible translations, see the similarities and differences, change the layout, export the information, and more.
Find a Verse for Your Text Comparison
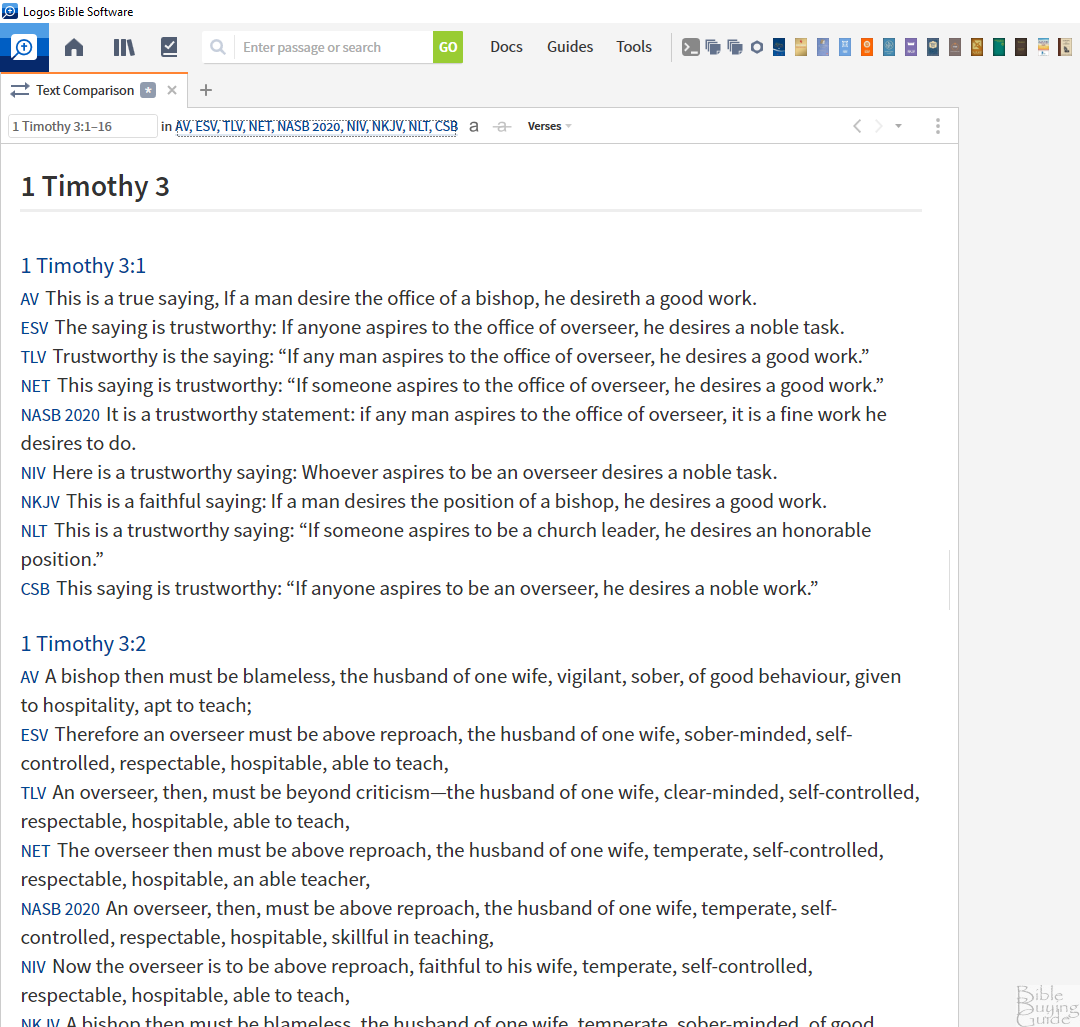
To compare any verse or passage, simply enter the references you want to compare into the search bar. A list of options appears in the dropdown box. You can simply click the Enter key or select any item from the list. You can see a single verse of a range of verses.
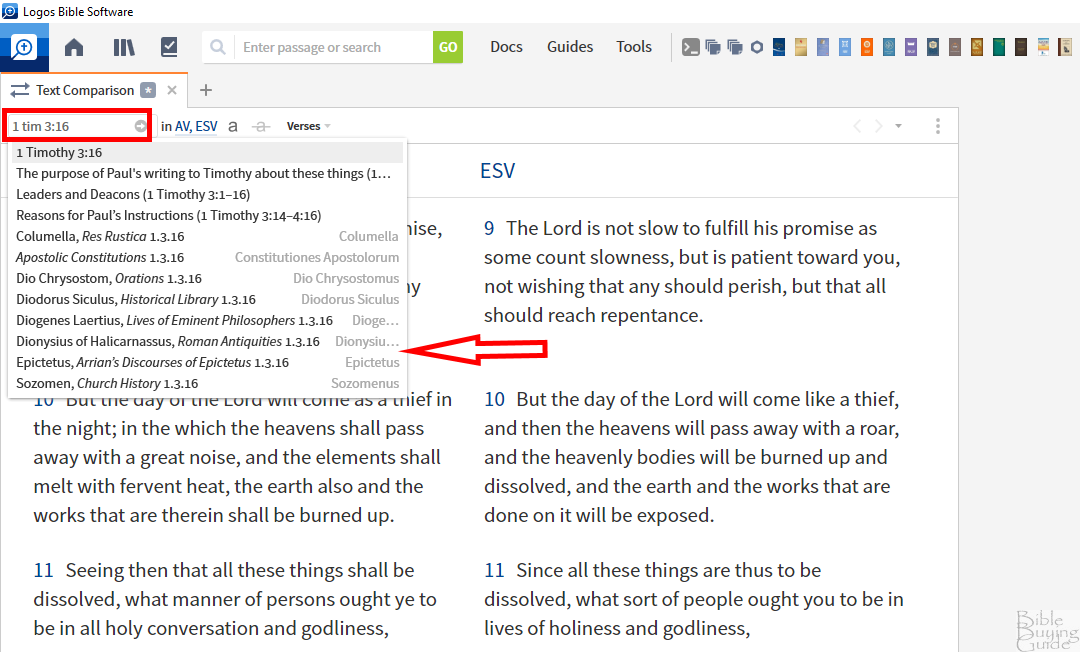
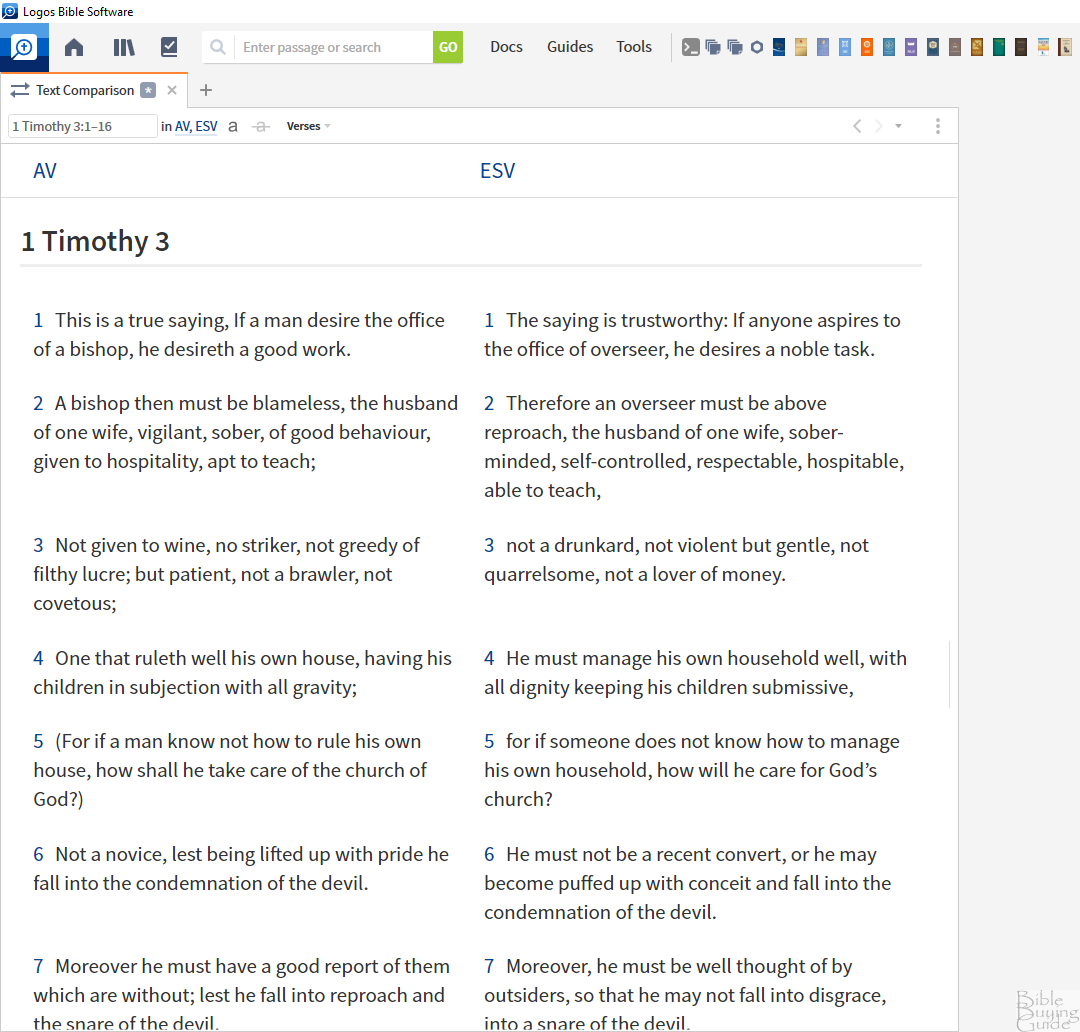
For my example. I’ve selected the second option on the list: Leaders and Deacons. This displays 1 Timothy 3:1-16 with each verse on a new line.
Choose Bible Translations
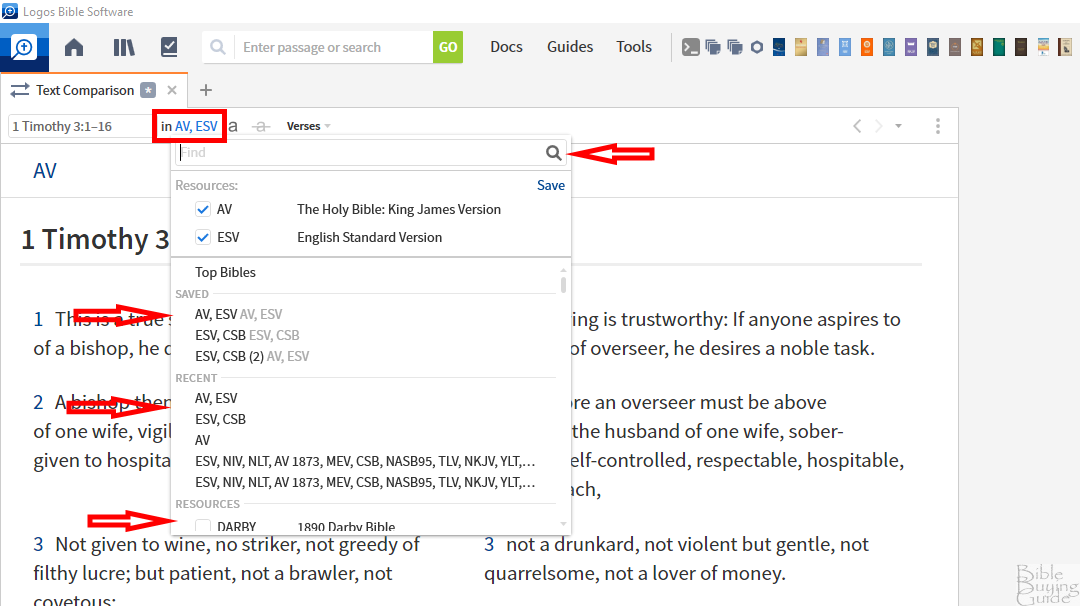
You can compare as many translations as you want. To add or edit your list of translations, select the links that show which translations you’re comparing. These links sit next to the verse search bar at the top of the window. This opens a dropdown menu where you can search for a translation, choose previously saved searches, or select translations for your library.
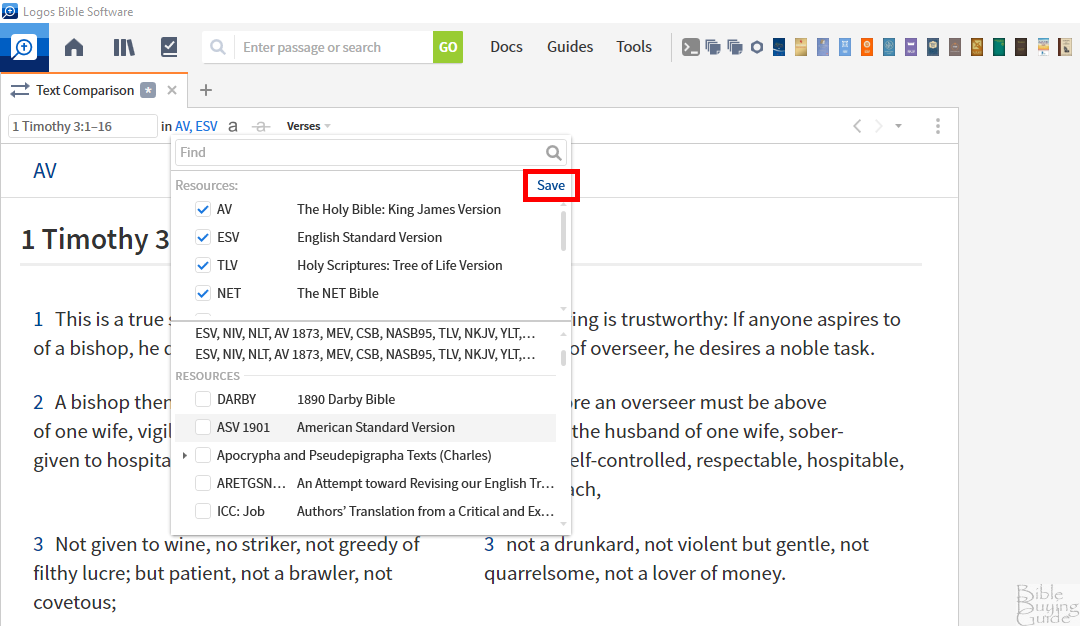
Select the translations you want and click Save.
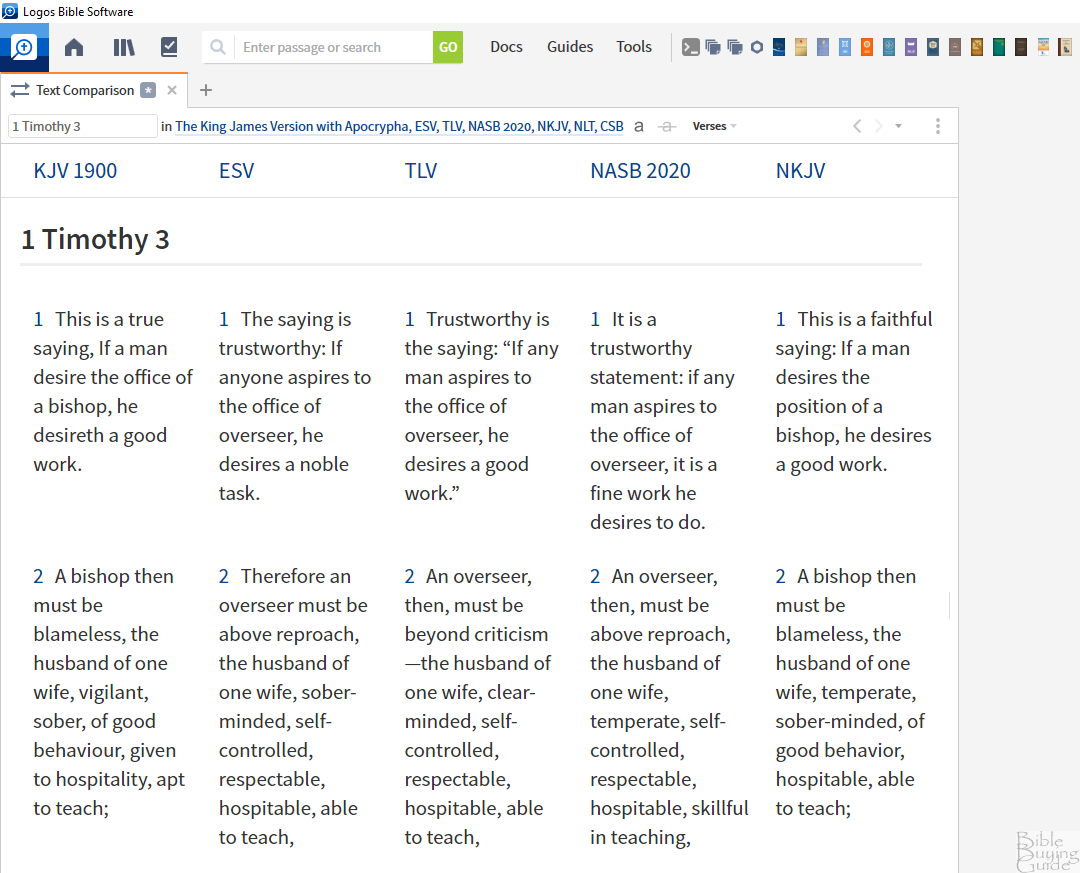
You’ll see each verse in each translation. Notice the layout changed from two columns to one column. Mine was set to Auto. We’ll see how to change this later.
View the Differences
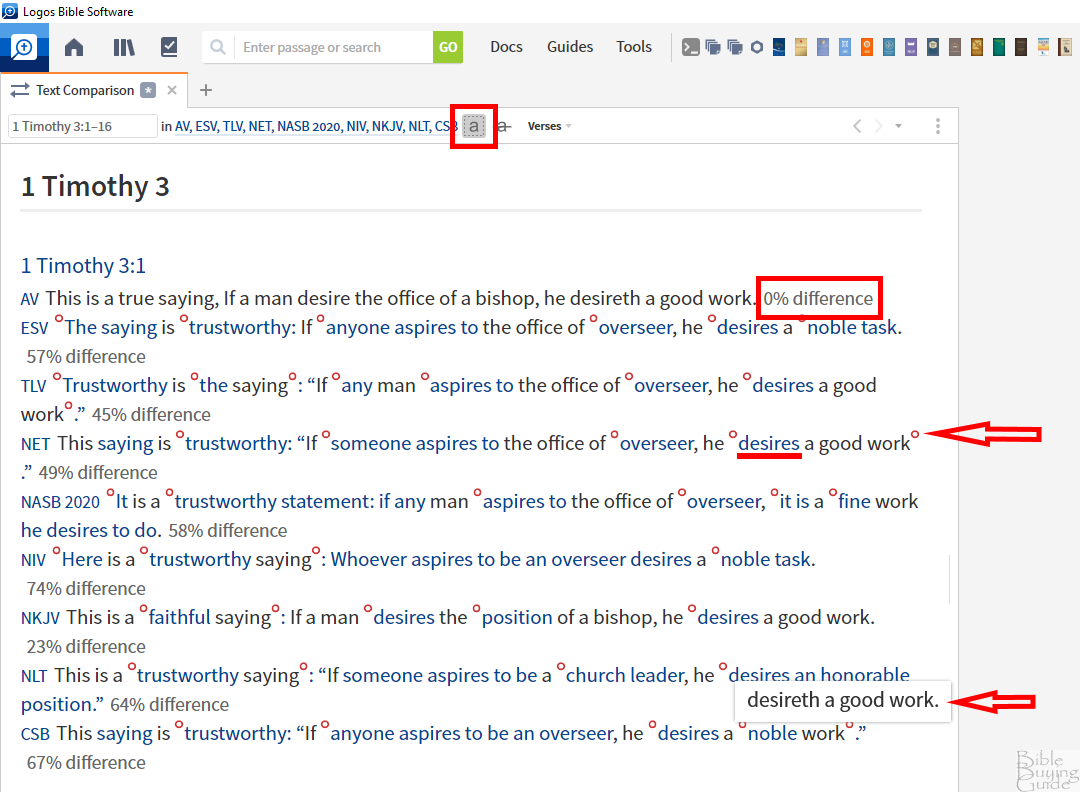
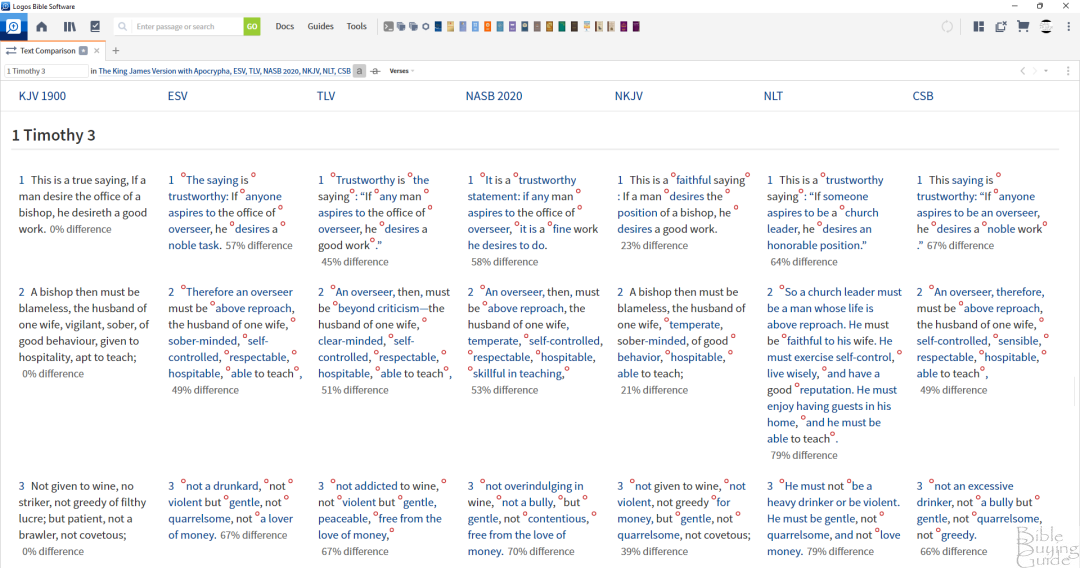
The Text Comparison Tool can highlight the differences between each of the translations. Select the letter a that’s placed next to the translation links at the top of the window to enable the differences. Your first translation will be the standard that the others are compared to. Every word that’s different in each of the translations is marked in blue and includes a red circle. Hovering over the red circle reveals the difference, such as the text or punctuation, from your original translation. The percentage of difference is shown at the end of each verse.
See the Text Base
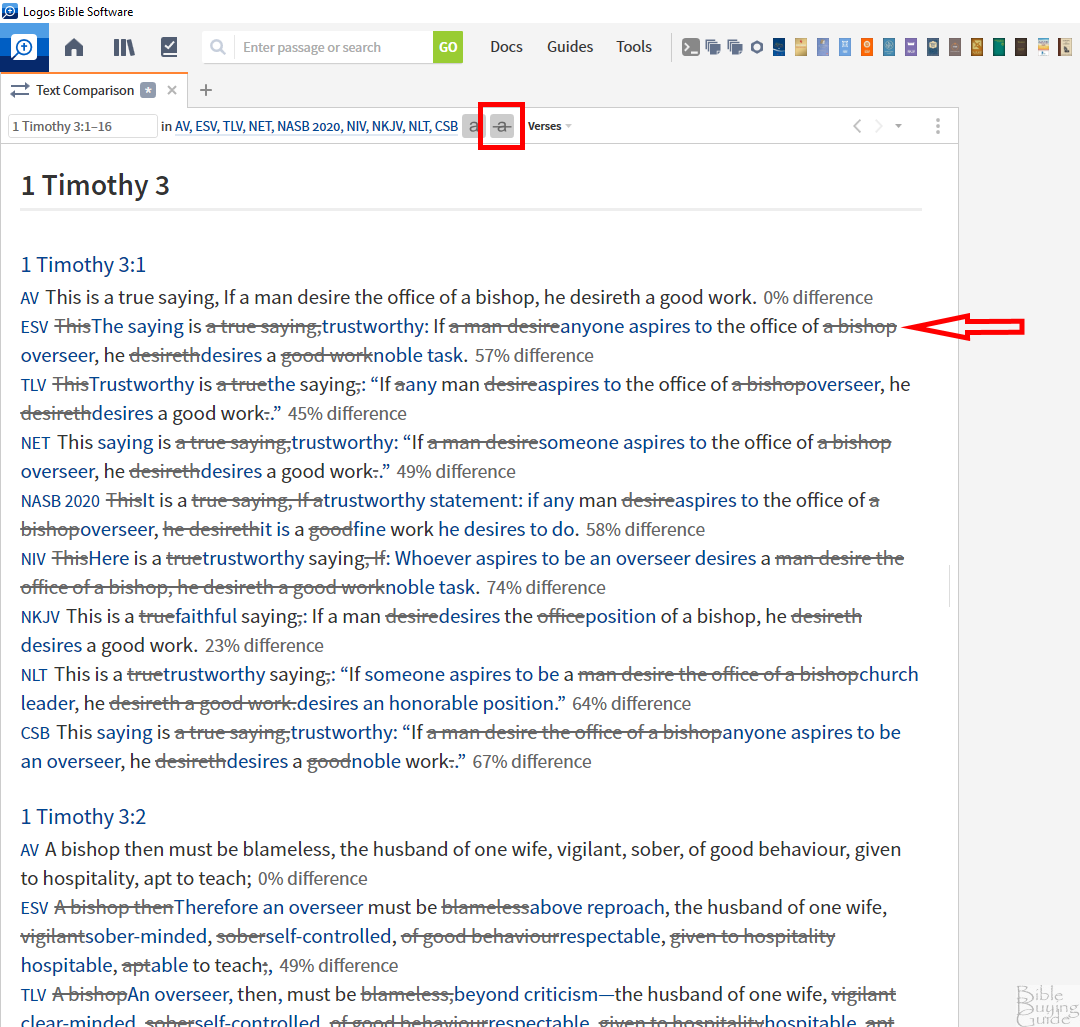
The Text Base shows the text from the original translation within the verses of each translation. To enable it, click the a with a line through it next to the Differences option. The original text is in gray, and it’s marked out with a line through it. This requires the Differences option to be enabled. It also shows the text in blue that’s different in each translation and the percentage of difference at the end of each verse.
See Verses or Interlinear
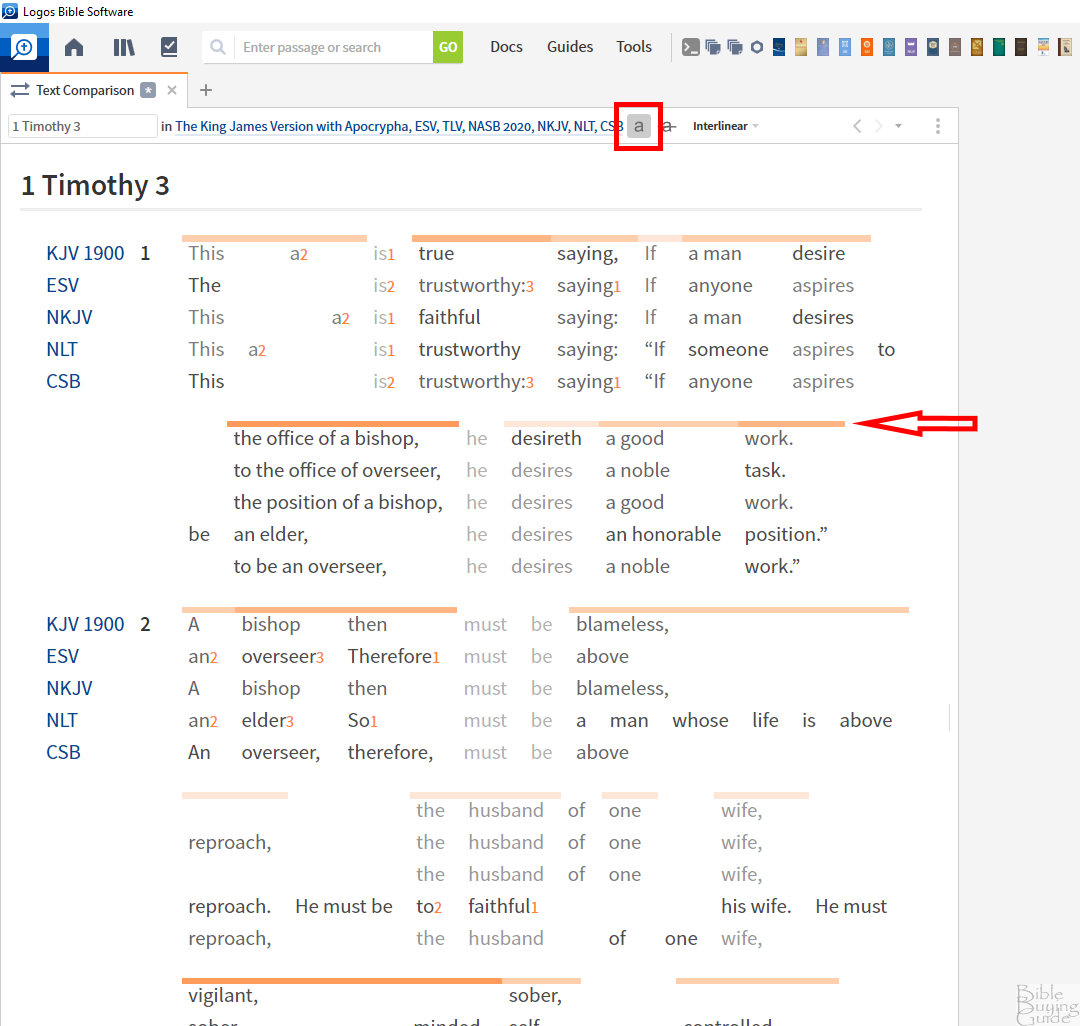
Verses is the standard view that we’ve seen up to this point. This shows the verses for each translation independently. We can also view them in an interlinear setting. This tool displays a line of text from each translation with their words lined up to easily see the differences between them.

You can also select Show Differences to view a line that’s placed over the section of text that’s darker where the most differences occur.
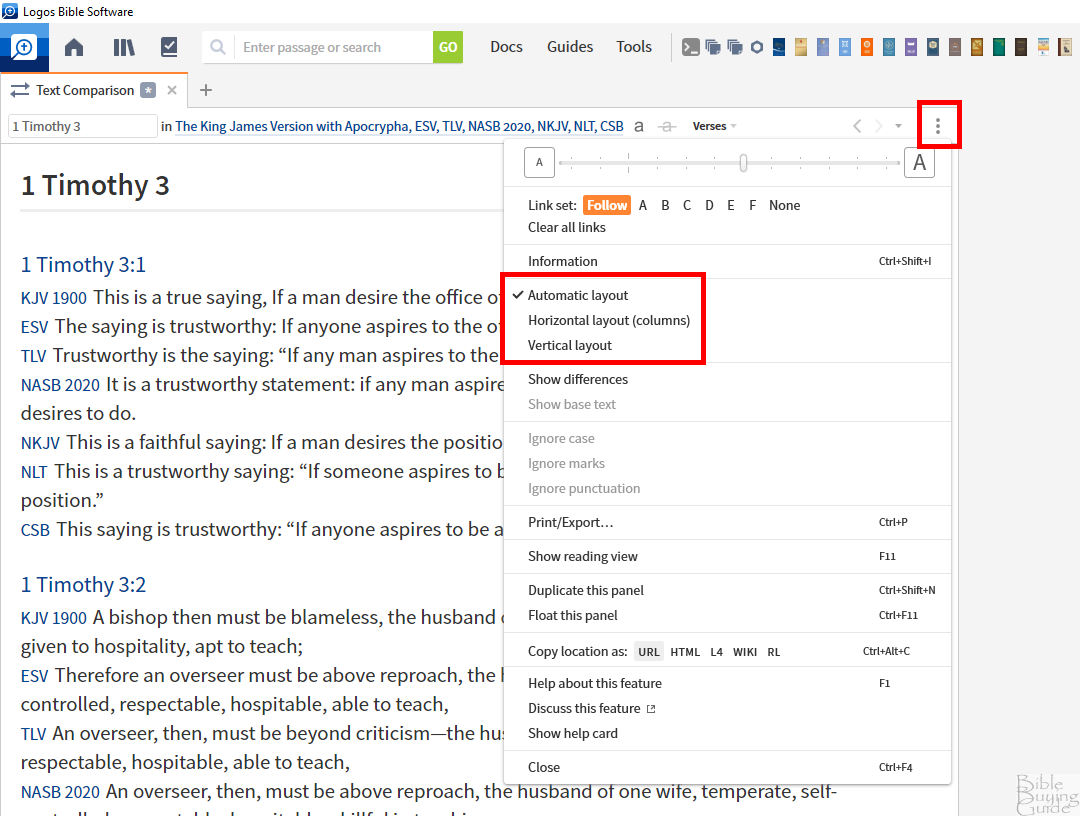
Change the Layout
You can view the translations in either a single or a multiple-column layout. To change the layout, select the three dots to the right of the window. You’ll see several layout settings including Automatic, Horizontal, and Vertical. Simply select the layout you want. The default is Automatic, which displays a Horizontal layout when you’ve selected two translations and a Horizontal layout when you’ve selected more than two.
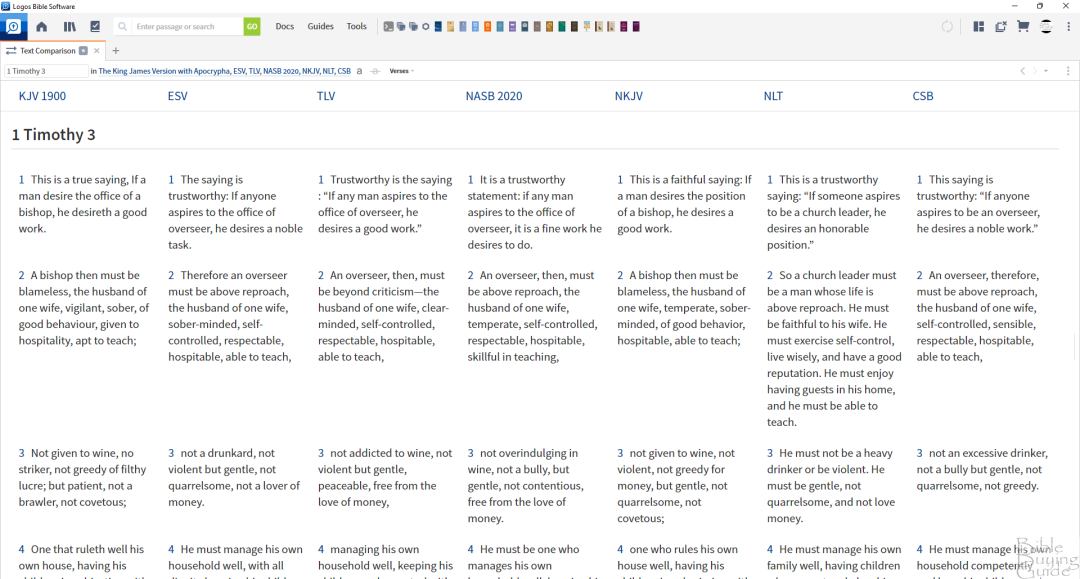
Horizontal places each translation in its own column. Depending on the number of translations you’ve selected you might not see them all at the same time. Slide the bar at the bottom of the window to scroll horizontally and see all the translations.
Drag the window to change its size. This is great for seeing more translations on the screen at once.
You can also see the differences in this view.
Ending Thoughts on the Logos Text Comparison Tool
Logos makes it easy to compare Bible translations and see where they’re similar and where they’re different. The Text Comparison tool is easy to use and provides a lot of information with just a few clicks.
Use our partner link to get 30% off Logos 9 feature set from now until the end of July.
For more information about Logos 9, see our review.
Do you use the Text Comparison tool in Logos? Let us know in the comments.


