


Preaching and Teaching From a Tablet
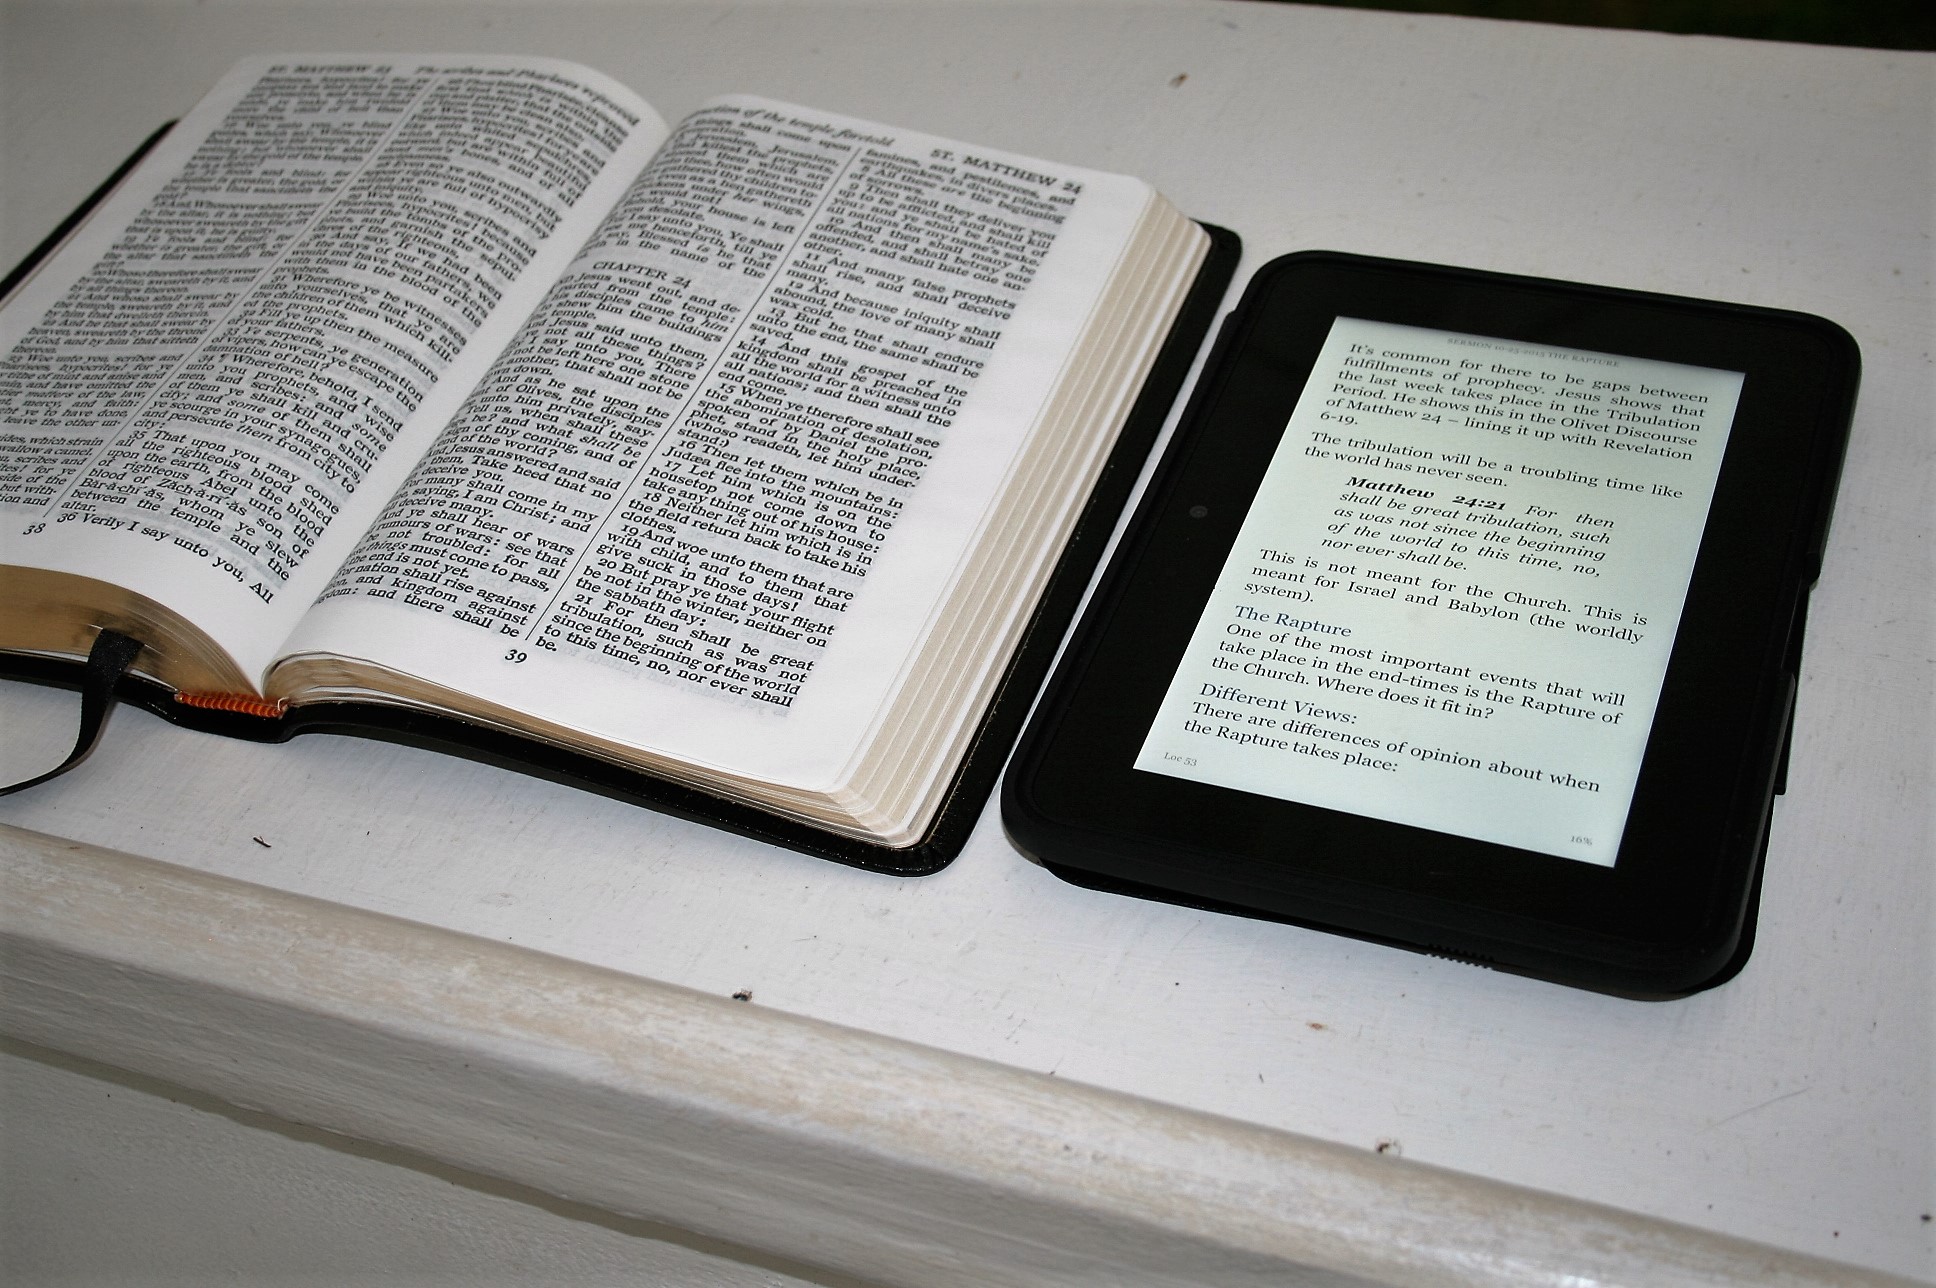 For quite a while now I’ve been thinking about using a tablet for preaching. Not as a printed Bible replacement – I still want a printed Bible, but as a sermon notebook. I like the idea of having my sermon on a tablet ready to go. A tablet could make a great sermon notebook. I decided to give it a try.
Here’s an overview of the tools I use and why I like them. My goal is to get the features I want and for it to be easy. The hard part should be studying and praying for the sermon – not handling the hardware and software.
- Note – some of these links include affiliate programs. This helps me keep this site running. Any and all use of BBG’s affiliate programs is very much appreciated. Thank you!
Methods
There are several ways to create your sermon and deliver it from your tablet. Here’s a quick overview of the methods and some apps that make them work. I use multiple methods because they give me different results for different purposes.
Method 1 – Creating the Sermon on a Desktop
Create the sermon on a desktop and then you have several choices for getting the sermon to your tablet:
- Log in to the same app on your tablet to sync
- Navigate to the online file location and download it
- Connect your tablet to your computer and copy and paste
Evernote works well for this. You can copy and paste all of your sermon notes from a Bible and other resources. Once you’re done writing the sermon you can login to your account on your tablet and your sermon is there ready to use.
Another option is saving the sermon as a file and opening it in an app that reads that file (or convert it to another format). You can create a PDF, Office document (such as Word, OneNote, or PowerPoint), etc.
Another option is to create the sermon in a Bible app that you can open in the same app on your tablet.
Method 2 – Creating the Sermon on a Tablet
You can create the sermon in a document creator or a Bible app. Evernote or a text editor also works for this. It might be difficult to paste in the Scriptures. Bible apps with notes features work well because the Scriptures are built in.
Thoughts on Hardware
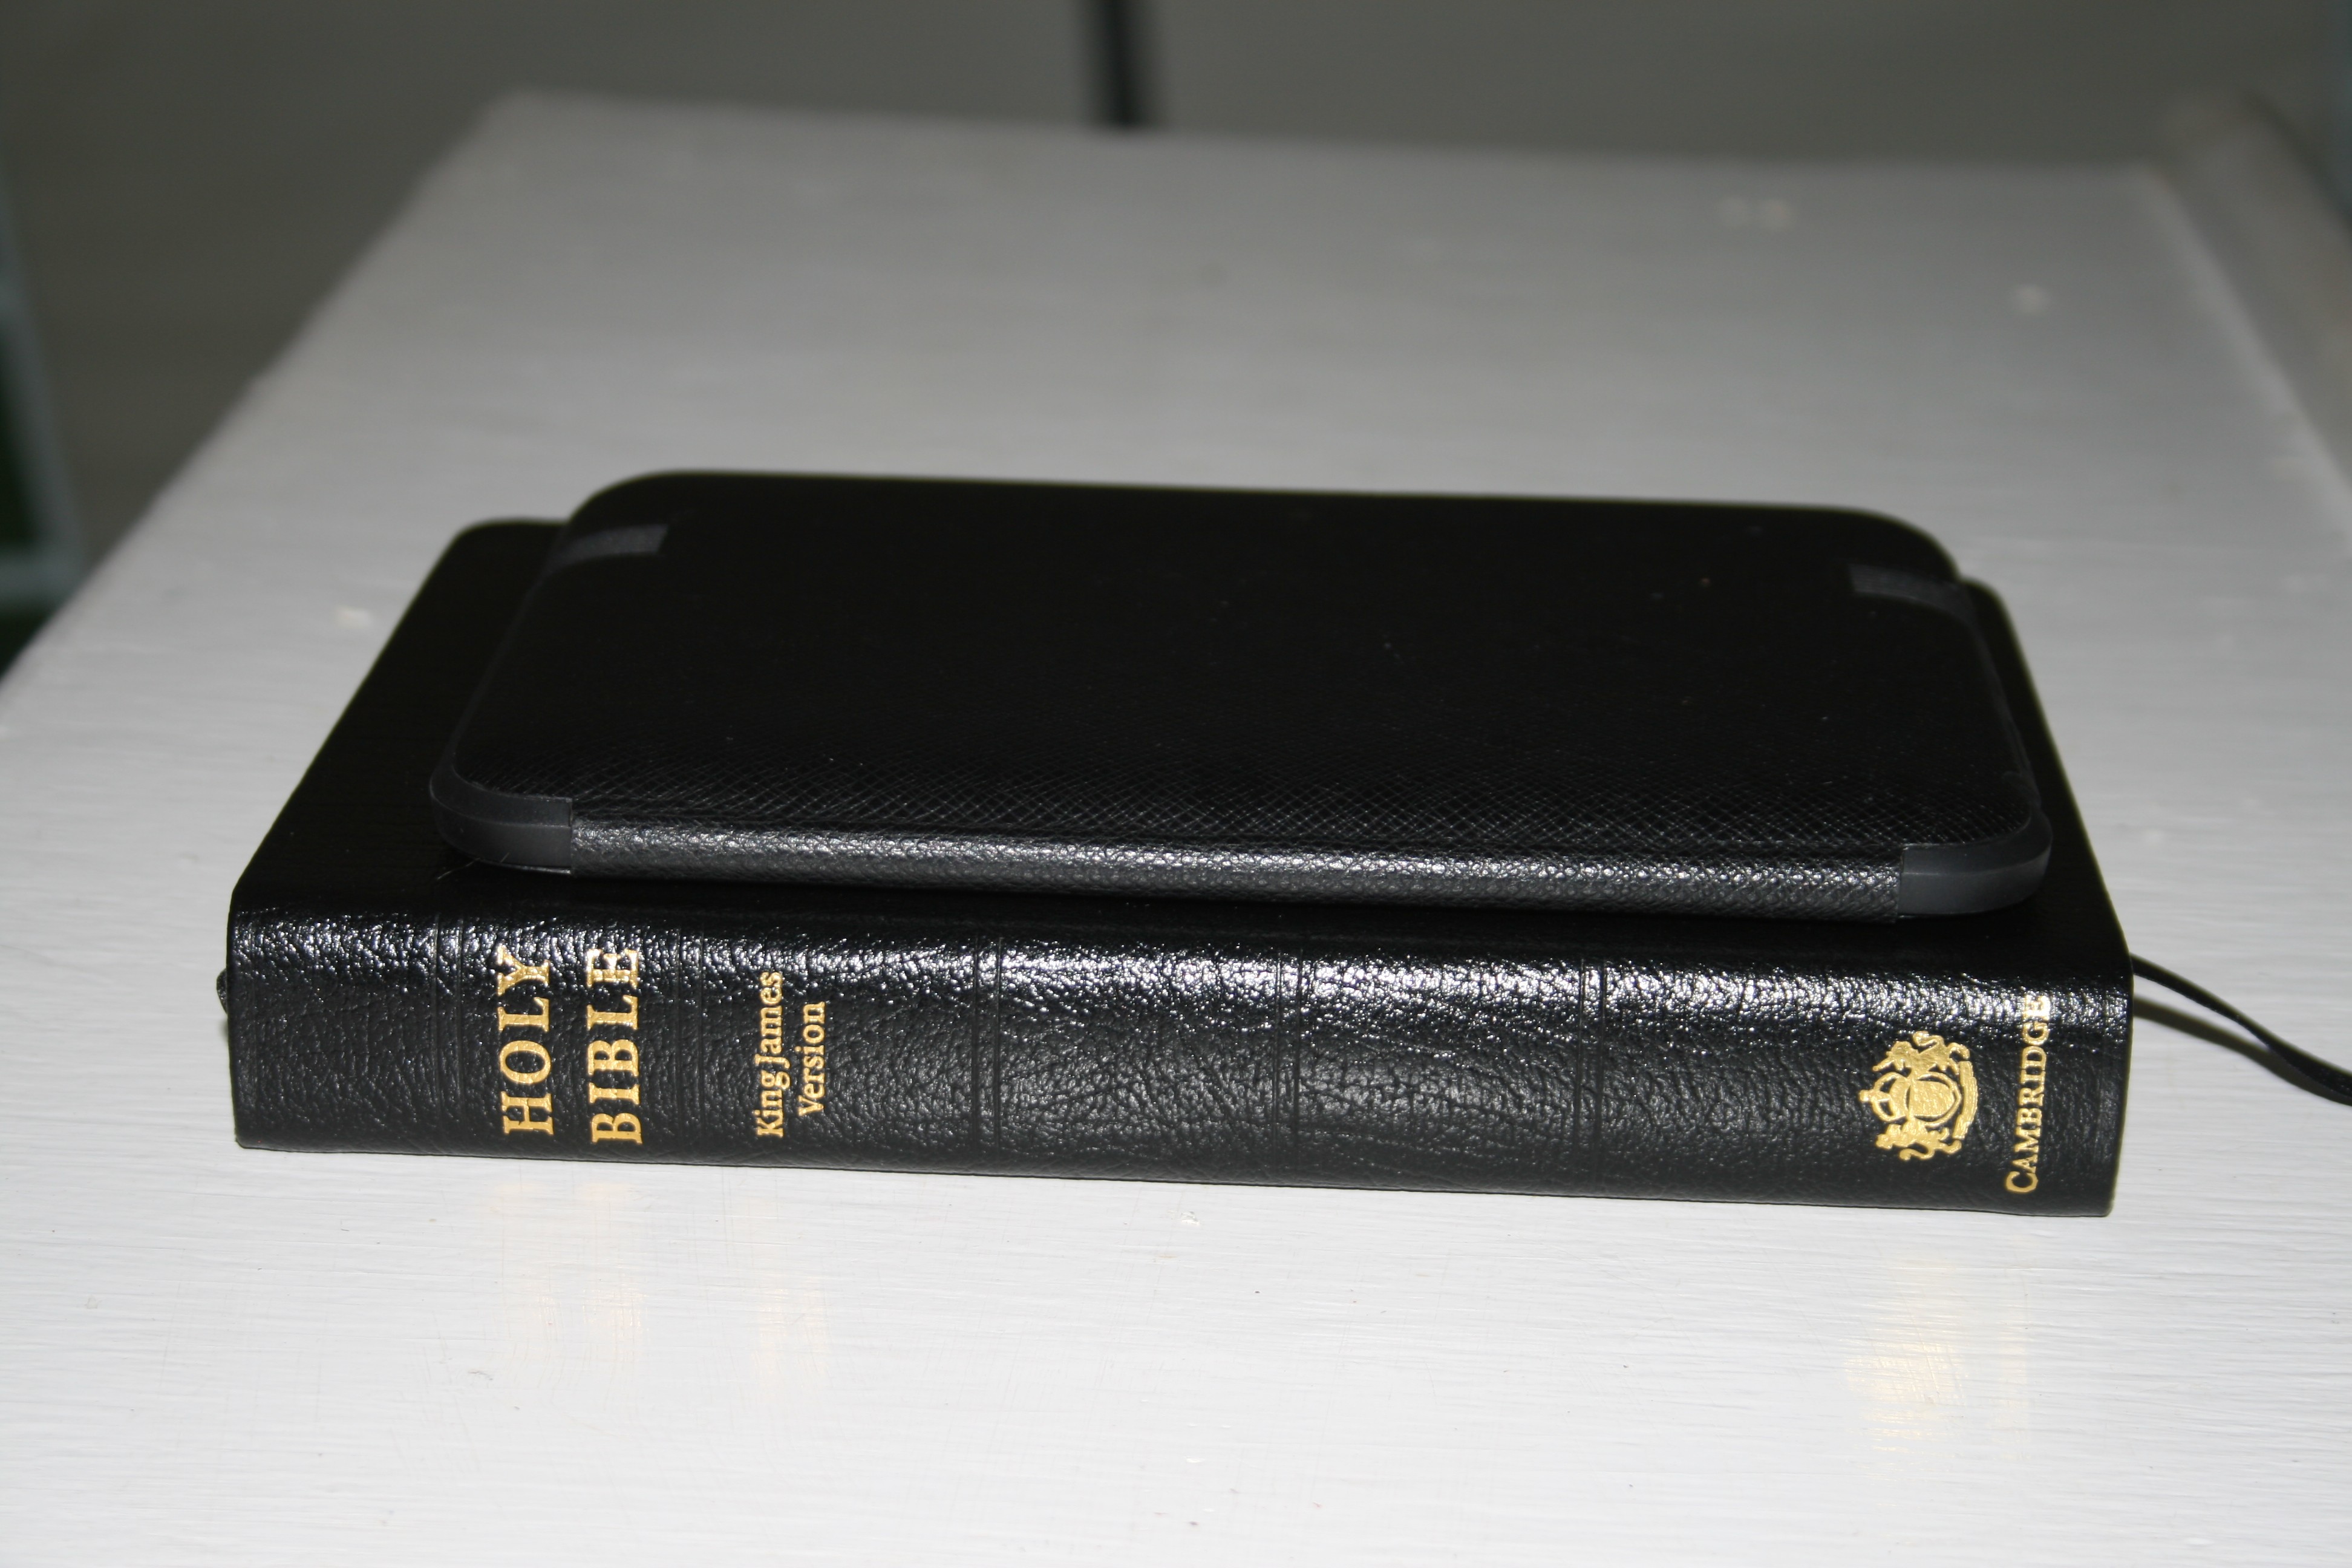
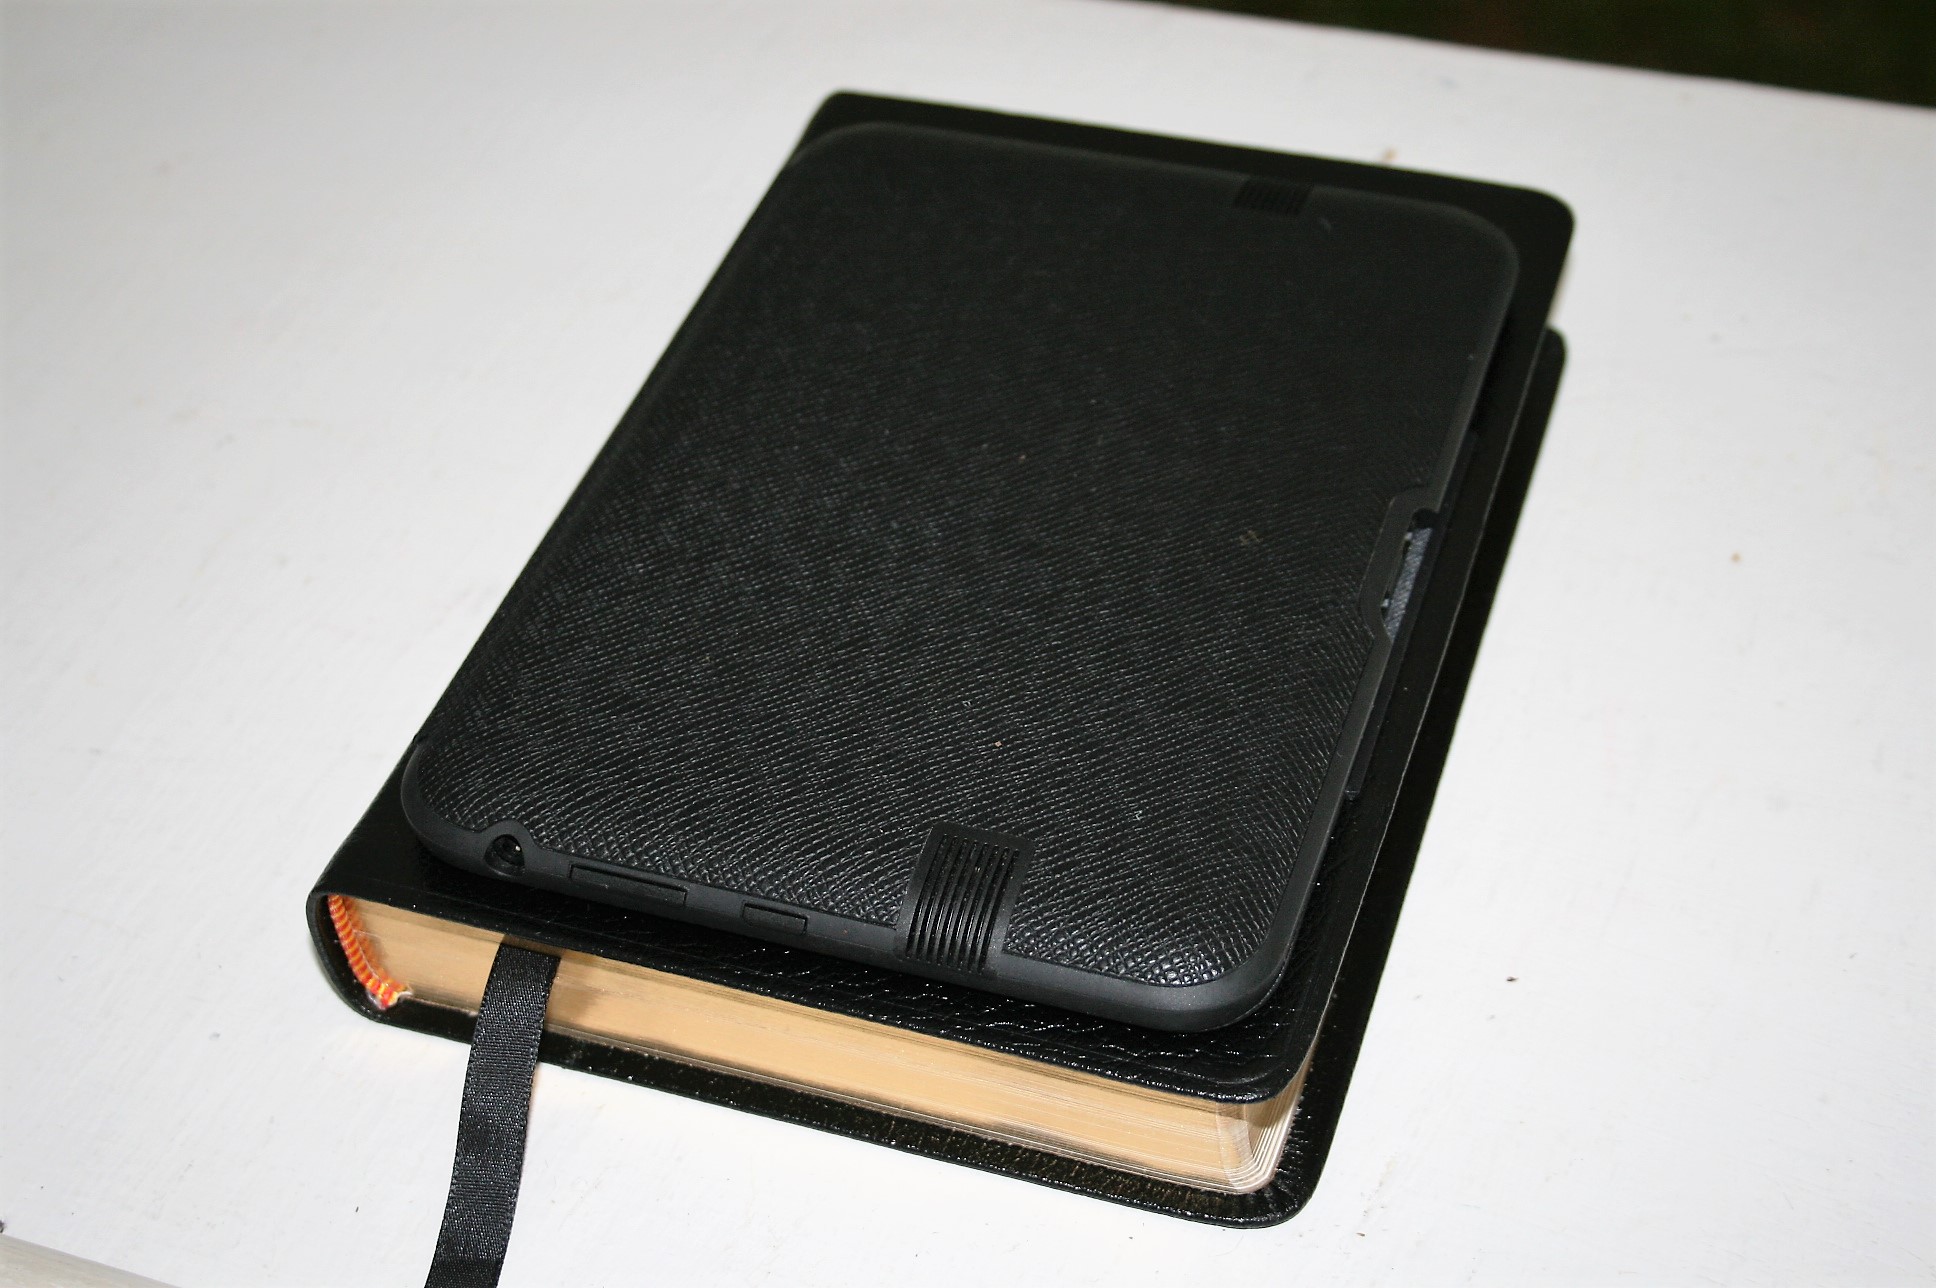
I use the 7” Kindle Fire HD and it works great for me. Sometimes I think I want a larger screen, but the smaller screen will only show so much and this helps keep me from losing my place. The overall size is perfect for carry, holding, reading, etc. It fits perfectly on every pulpit I’ve tried it on. It did take some getting used to when I went from a 17” laptop to a 7” tablet, but I like handling the smaller device enough that I wouldn’t go back to the larger screen. I can even hide it in a Bible case along with my Bible.
Any good quality tablet will do whether it’s a Kindle Fire, Nook, Samsung Galaxy, Google Nexus, iPad, Microsoft Surface, or any other Android, iOS, or Windows device. Try to get the latest OS and as much storage as possible. Not all apps are available for all OS’s.
Tips on Using a Tablet
- Charge your battery
- Turn off the auto-off features
- Sync ahead of time and double check that your notes open
- Turn off auto-rotate
- Try portrait and landscape modes to see what works best for you
- Turn off WIFI unless you need it for your notes
- Turn down the volume if you’re on WIFI and get notifications
- Use the size device that works best for you. For me, 7-9” tablets are much easier to work with than 13-17” laptops. I prefer the 7-9 range and personally use the 7” with no problems.
- As long as the tablet works for you it doesn’t matter which brand or platform you have.
- Don’t draw attention to the fact you’re using a tablet. If you have to wait for something to load, just fill in the time with a thought instead of creating awkward pauses and comments about things not loading. It’s okay to pause if you’re giving the audience time to turn to a passage (that would be normal and expected). Use the tablet naturally – just like you would if it was paper.
Thoughts on Software
Here are a few apps that I’ve tried and my thoughts about using them.
OliveTree’s Bible Study – this is popular Bible app. You can set the scroll as horizontal or vertical. You can place notes on each verse. It now let’s you split-screen your Bible and notes. It will also show your notes in a popup window or in the split screen. It has good notes and marking features. You can mark a single word and you can see definitions of specific words if you’re using WIFI. It’s a good app, but not my favorite for preaching. It includes the KJV for free. There’s also a desktop app and you can sync between them. It will even sync with EverNote.
Logos – this one has some impressive features. If you have an Internet connection you can see a Greek or Hebrew definition of a word as well as other Greek and Hebrew words that are also used for the same English word. It shows the translation notes at the bottom of each page. It has my favorite highlighting features. It has more colors and highlighting styles than any other app. You can highlight single words and layer the highlights over each other. It even has Inductive Study symbols. You can place notes on each word. It has lots of translations for free. You can share your notes with the community. You can view your notes based on markup and sort them by date. You can also view presentations and community notes. If you have a premium desktop package of Logos (my link will take you to a page with the current sale and/or bonus deal) you can create your content on the desktop and sync. You can then set your tablet to split-screen mode with your notes and Scripture text.
YouVersion – this one is the most popular, and it is a very good app, but I don’t like it for preaching. You have access to lots of translations for free and you can download a lot of them for offline access. You can create your own notes for each verse that you can share, and you can highlight through the web and on your devices. It also has a social media features. There’s a live event feature where you can follow along, take notes, ask questions, etc. If you don’t have an Internet connection you can’t access your own notes. I preach in areas that don’t have Internet access. I have to have my notes on my device. You can create notes on the device but you can’t see them in split-screen.
Bible Gateway – the app has a full-screen notes feature. You can sync your notes between your devices. The references are not hyperlinked but you can copy and paste verses into your notes. This would be good if you wanted to add your sermon notes and Scriptures to your primary verse. There are over a dozen translations that you can download and use offline. It also has a neat study feature where you can study a specific verse from study Bibles, commentaries, dictionaries, encyclopedias, and maps. You can also share your notes with others.
Laridian PocketBible – this one is my favorite Bible app. I can create my entire sermon on the tablet with no need to use other devices (although a Bluetooth keyboard helps). It has my favorite split-screen feature (2-6 windows at once), my favorite notes feature, and my favorite bookmarks feature. You can open 6 windows in parallel – 5 will have books, commentaries, Bibles, or whatever you open in them, and 1 (taking the right half of the screen) will have your journal, notes, highlights, or bookmarks. Any notes, highlights, and bookmarks that I add will sync between all of my devices including the desktop. I can work from either my smartphone or tablet and sync my journal (the Journal is not currently available in Windows but it is available in Mac). Some features (journal, autostudy, autoscroll, etc.) require the Advanced Feature Set. This costs $5-$10 and is well-worth its money.
Any references you place in your notes or journal become hyperlinks. When you click them your Bible window (the one that’s selected if you have more than one) will go to that verse. There’s also a nice auto-study feature where you can get information about a verse or a word (in the Advanced Feature Set). It searches your resources and gives you an outline with the info that you can save or print. Another cool feature is auto-scroll (also in the AFS). I’m going to let you guess what that does. It’s fast and easy to operate. The buttons make sense without having to guess what they do. Using a desktop app called BookBuilder you can create your own books. Everything works perfectly offline.
Laridian BookBuilder – this is a desktop app that lets you create your own books on your desktop and then send them to your tablet. The advantages in this one are you can display books in split-screen and still have your journal/bookmarks/highlights on the screen, you can show just the sermon as a book full-screen, you can add references and they’re clickable so if you’re using it with a split-screen with a Bible, the Bible will go to the verse you clicked on (the pro version), and you can share it with others. With the pro version you can even sell your books. It does take some time to create the book. I’ll have a detailed review of this app soon.
Word – I’m a writer and Word is my tool of choice in my professional career. I usually use my sermons and teaching manuscripts for more than one purpose, and using Word helps me keep everything standardized. I especially like the headings and navigation features, and being able to place images within my notes. There are many good alternatives to Word, but Word is my personal favorite.
One option with Word is to sync with your OneDrive. Then you can open the Word document in Office on your tablet and preach or teach from it. Another option is to connect your device via USB and drag and drop the file in your documents folder. If you use Word then I recommend matching the page size to your screen size. Also be sure to experiment with font sizes to see what works for you. You can create a template and use headers, bullets, bold, italics, and color. I like to paste in Scripture and set it as a quote so it stands apart from the rest of the text.
PowerPoint – Another option is developing your sermon in PowerPoint and then use an Office reader on the tablet. This lets you have more formatting options for graphics and you can make slides specifically for your screen size. Just like with Word you can sync with OneDrive. Also like Word you can drag and drop into your documents folder. You could even output your presentation to a larger screen for others to see.
OneNote – this is an excellent notes app in the Microsoft Office suite. You can create your notes and sync with a OneNote reader app on your device.
BibleWorks10 – I like this app because it has the original languages, lots of commentaries, and a notes editor so I can do all of my sermon prep in this one app. It has powerful searching features, many translations of the Bible, and analysis – each in its own window. I use 2 analysis Windows: one for my notes (drag and drop the Editor to the second window) and one for the analysis and commentary. Of course I do use other resources for the actual study including PDF files, books, printed Bibles, etc. If I want to save time with a single app I use the RTF editor in BibleWorks instead of Word. Another option is to set BibleWorks’ copy/paste function to automatically paste anything that you copy directly into Word. You don’t even have to go to Word to paste it (just having your document open is enough).
Evernote – this is a popular app for taking notes. You can write your sermon and deliver it from the same app, or write on one device and sync another. You can also paste in images. I use it on my smartphone for making notes. For just notes it’s my favorite app because it’s easy to use, has lots of useful features, and I can sync with my devices and desktop. It’s easy to create your sermon in the web app and login with your tablet and sync. You can attach PDF’s, create notes and notebooks, and even share them with others. You can easily resize the text by pinching to zoom. Links are active, so if you have WIFI you can use this to your advantage.
WordPress – you can write your sermon in a free WordPress account and then publish for public or private, and then navigate to your WordPress site on your device. If you’re using a responsive theme your sermon will fit your screen. You can use images, video, audio, etc. If you’re using .org (instead of the free .com) you can even incorporate a Bible plugin so you can have references convert to verses as you click on them. This might be a crazy idea, but if you publish your work to the web anyway you might as well consider it.
Drawing – you could use a drawing app and draw the major points by hand on your desktop or device. This is a great choice if you like to preach from visuals and just need very few words. You could even write your notes by hand onto your screen.
Other Apps with notes features:
- Tecarta
- Bible-Discovery
- WORDsearch
- MySword Bible
- Quick Bible
For an excellent article about Android Bible apps, see The Best of the Best Android Bible Apps at JoyofAndroid.com.
Tips on Using Apps

- Paste the full Scripture into your notes (not just the references) and format them to stand apart from your writing.
- Markup your notes so the most important points stand out.
- Test ahead of time and pre-set the text size. I use the 7 setting for Kindle.
- When you plan look away from the screen hold your finger on the last word you read. It will highlight the word. This helps you know where you left off. When you come back to it just tap the screen and start back where you left off.
If using a Bible app:
- Use an app that’s easy to navigate and make sure you’re used to navigating it.
- Use split-screen with your notes.
- Test your font size ahead of time (I use 18 with Laridian).
- Markup your notes and the Bible text.
- Check your connection requirements. I only use apps that work perfectly offline.
Cloud Storage – use cloud storage as much as possible and you’ll always be able to access your sermons from any device as long as you have access to WIFI.
Backups – you should also create separate backups. You can email it to yourself, burn to disc, copy to USB drive, use online storage, etc.
Thoughts on Sermon Notes
Every preacher is different and has different needs. I know some that don’t use notes at all and others that write out a complete word-for-word manuscript. Others like PowerPoint presentations with visuals. My notes are usually just text. I do occasionally create charts. I like the idea of images (like PowerPoint presentations) but my notes are just simple outlines with bullets. I write the main point, Scriptures, and maybe another point or two (which I might or might not use). For notes that I don’t plan to use but I want them for reference I like to make them a smaller font, maybe in italics, and make them gray.
My Process

Here’s a look at my process, including my hardware and apps.
My Hardware
I use three pieces of hardware:
- Windows 10 laptop
- 7” Kindle Fire HD
- USB cable
My Apps
Here are my favorite apps. The number of apps I use varies depending on the method I’m using.
My Methods
I have several methods depending on what my end goal is. I don’t peach the same way every time. Having more than one method lets me conform the hardware and software to the needs of the message and not the other way around. The goal is for the method to be easy and fast.
First Method – Using a Tablet for Notes and Reading from a Printed Bible
Write the sermon in a text editor, convert it to mobi format, and port it to Kindle.
I usually use Word to write the sermon outline and notes. I copy and paste from books, files, the web, and electronic Bibles. For Scripture I use BibleWorks10. BibleWorks10 has an RTF editor and an epub reader, so if I want to I can create my sermon in BibleWorks. I sometimes use the RTF editor in place of Word (it depends on what else I have in mind for the file). Using the BibleWorks text editor instead of Word means I have one less app to open.
Next I open Calibre and convert my Word document (or RTF document) to mobi, connect my Kindle Fire, and copy and paste the file into my documents folder. I like the text resizing features and built-in dictionary of the Kindle format. Adding the extra step of converting to mobi is very much worth the few seconds it takes.
Tip – place all of your sermons in a single Word document and create a table of contents for Kindle. After you write your sermon you would update the table of contents, convert to mobi format, and port it to your tablet. This reduces the number of files on your computer and tablet and makes finding your latest sermon easier. You would have all of your sermons in one place, and you’ll have a book that you can use for other purposes.
Write the sermon in EverNote and sync it with your tablet.

EverNote has a nice text editor. You can write directly into the editor, copy and paste from all of your resources, and then save it and sync with your tablet. On the tablet you can zoom and the text will reformat to fit the screen. This is one of the easiest methods and it works well. Just be careful to sync as soon as you’re done writing just in case there’re any WIFI issues.
Second Method – Using the Tablet for Both Notes and Reading the Bible
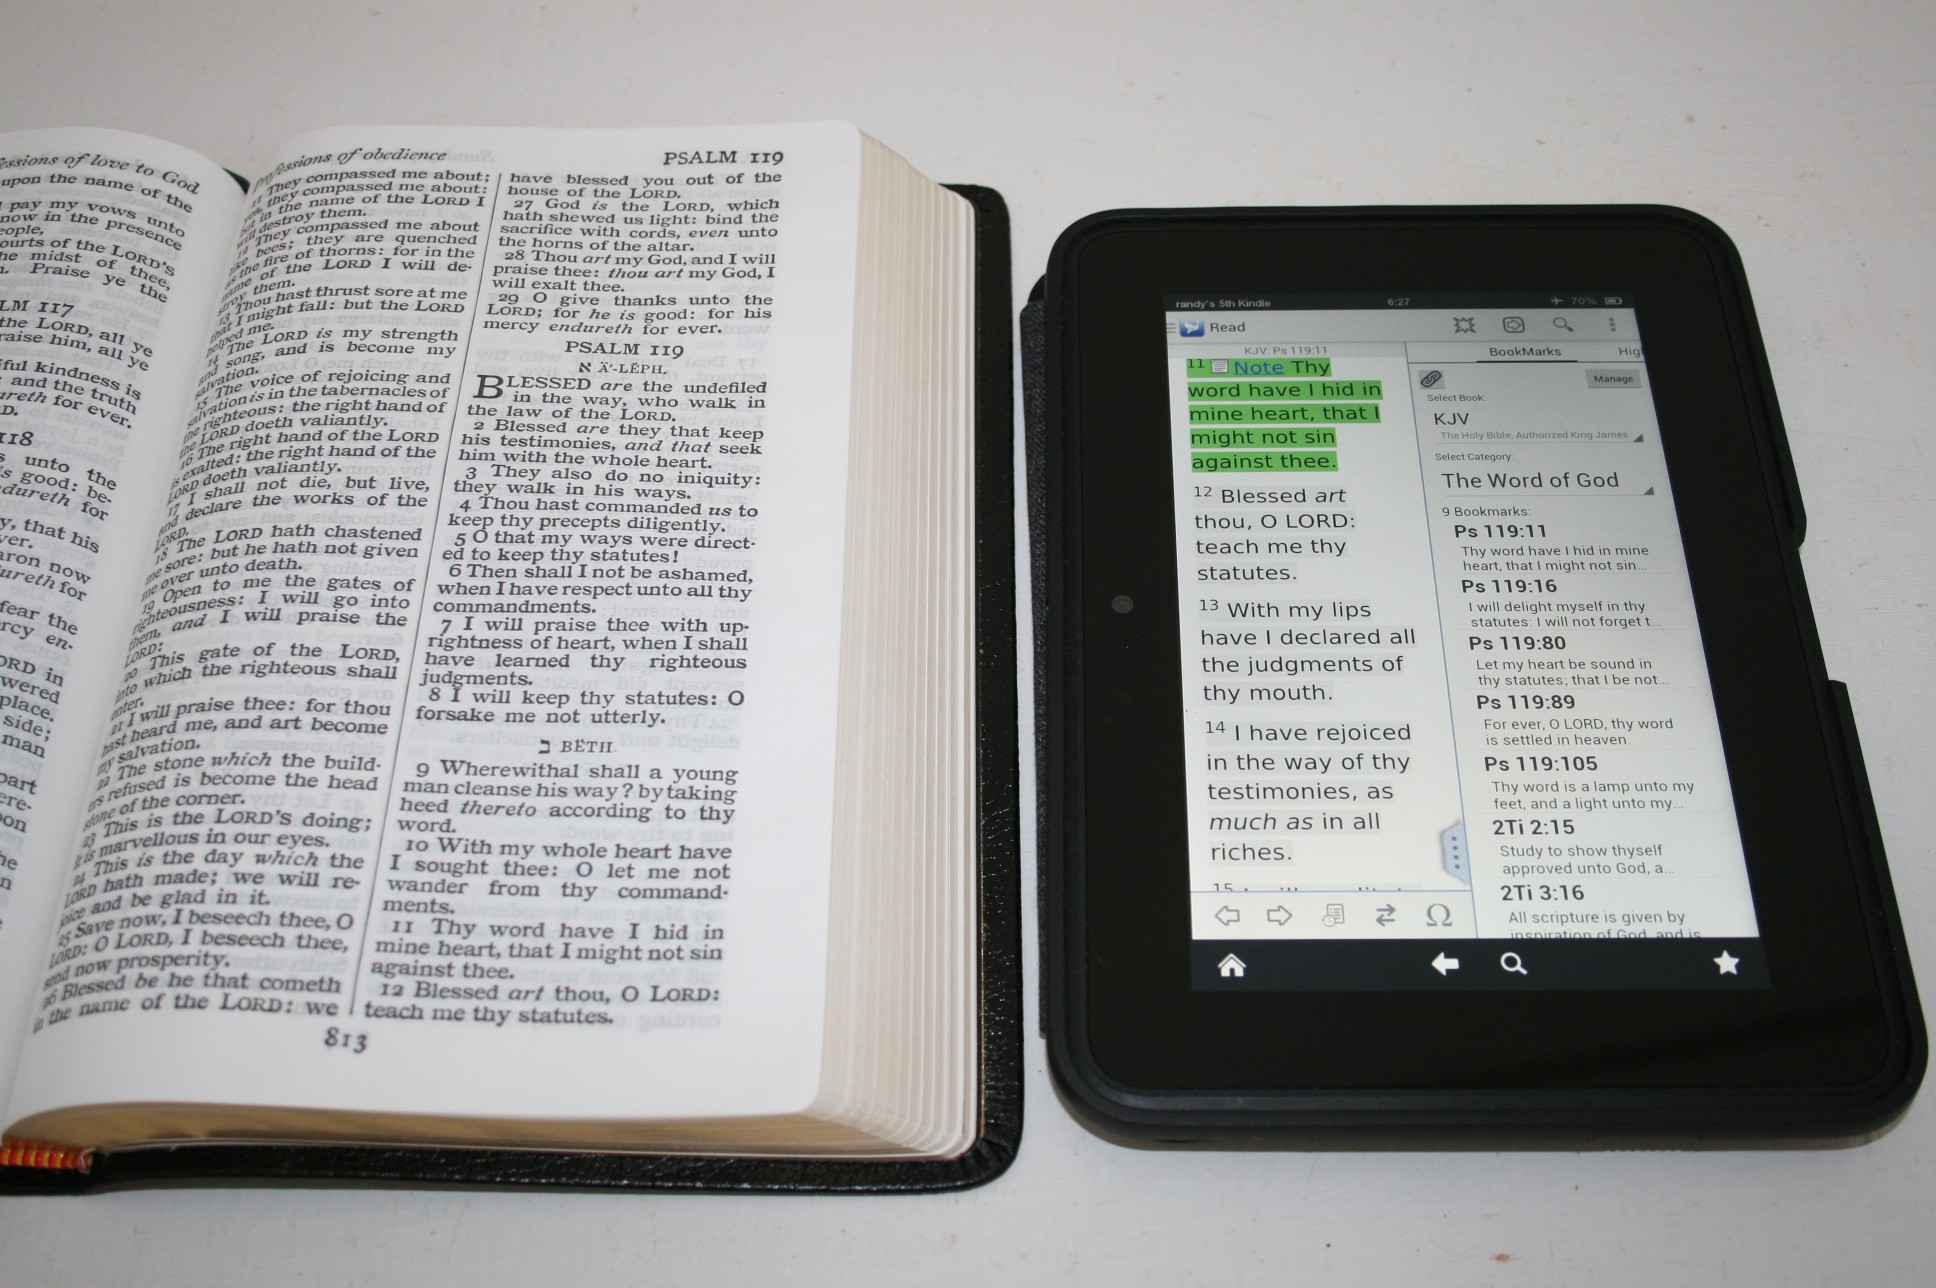
For this method I only use my tablet or smartphone and write the sermon in the PocketBible app. With this method I can preach just from the tablet if I want to. There are several tools in PocketBible that I use: bookmarks, highlights, notes, and the journal. All of these show in a split-screen – letting you see them beside your Bible text. You choose between them by sliding the column to the right or left. The Bible is on the left and the extras are on the right.
Features in PocketBible for Preaching and Teaching
Bookmarks – I use the bookmarks feature to create a chain reference and then preach from the chains. You can name the bookmarks with the same name as your sermon. You can even set your bookmarks using the desktop version and then sync your device. You can add your notes to each verse if you want.

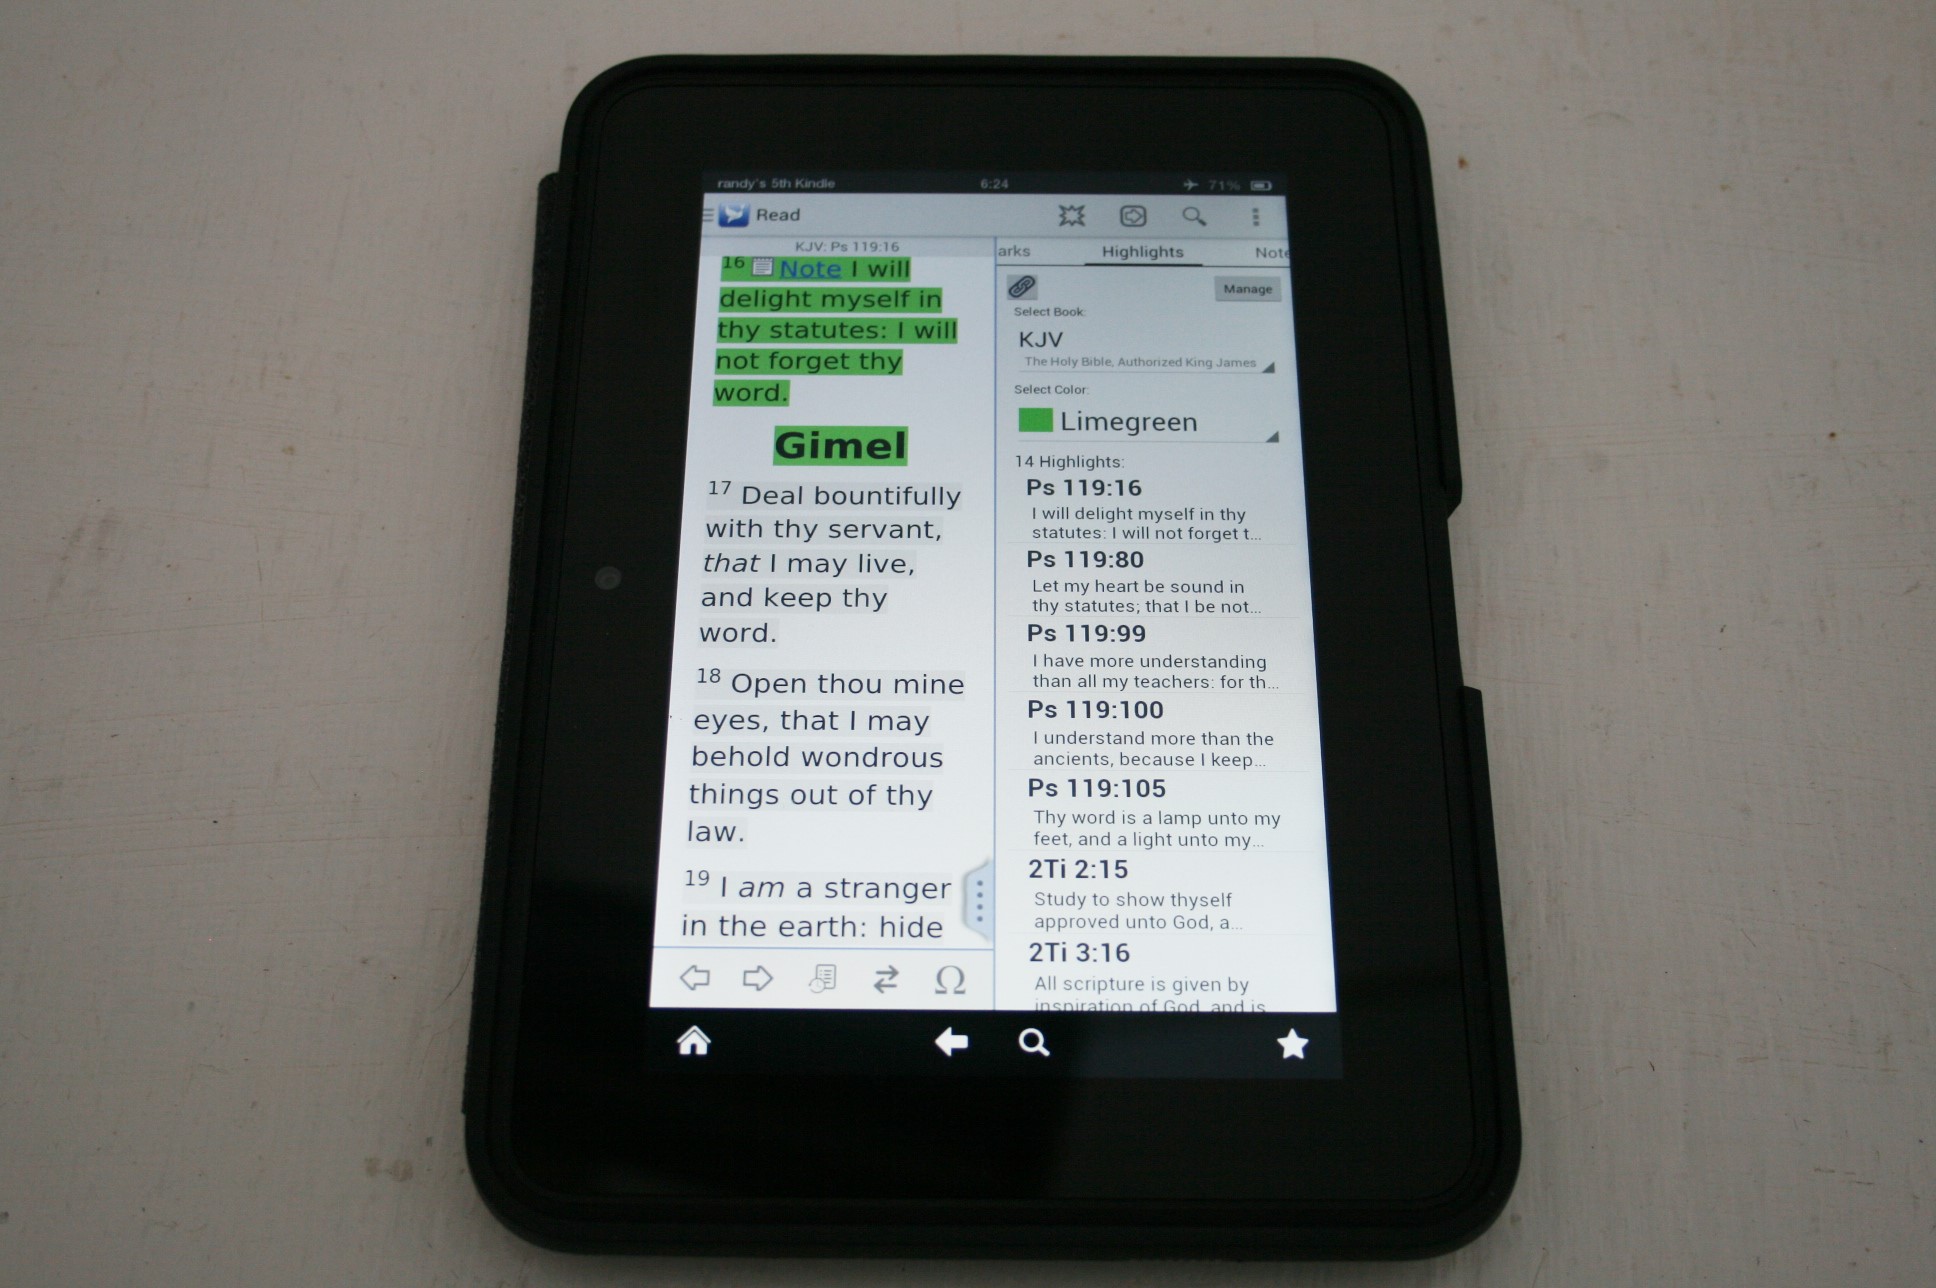
Highlights – you can use the highlights feature and color all of the verses a specific color. Then you can choose to show only the verses with that color. You can also add notes to each verse.
Notes – you can place notes on each verse. I also like to add my next verse at the bottom of the note. Verses in the notes become links, allowing you to click on them and go to your next verse.
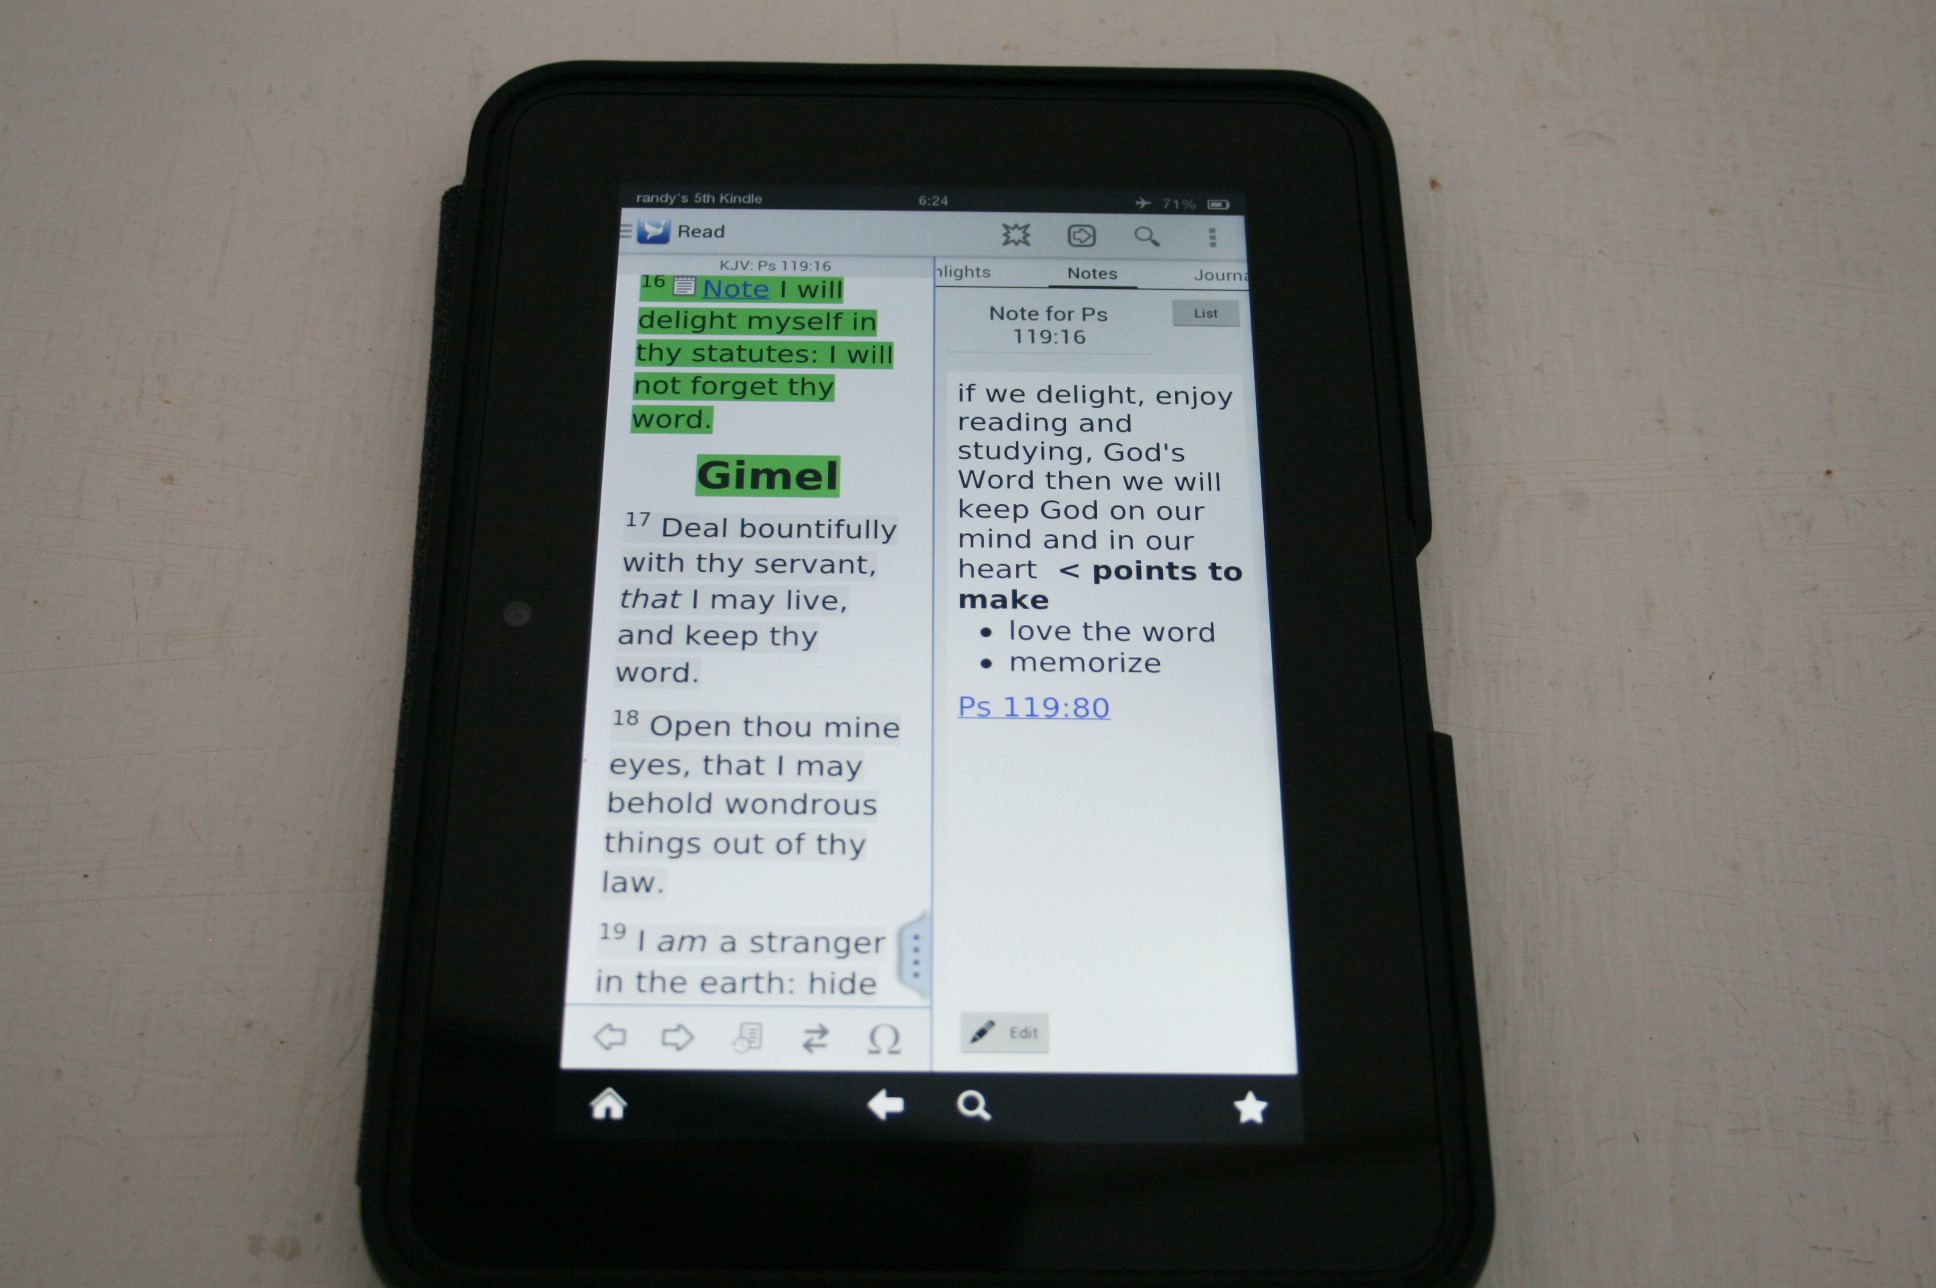
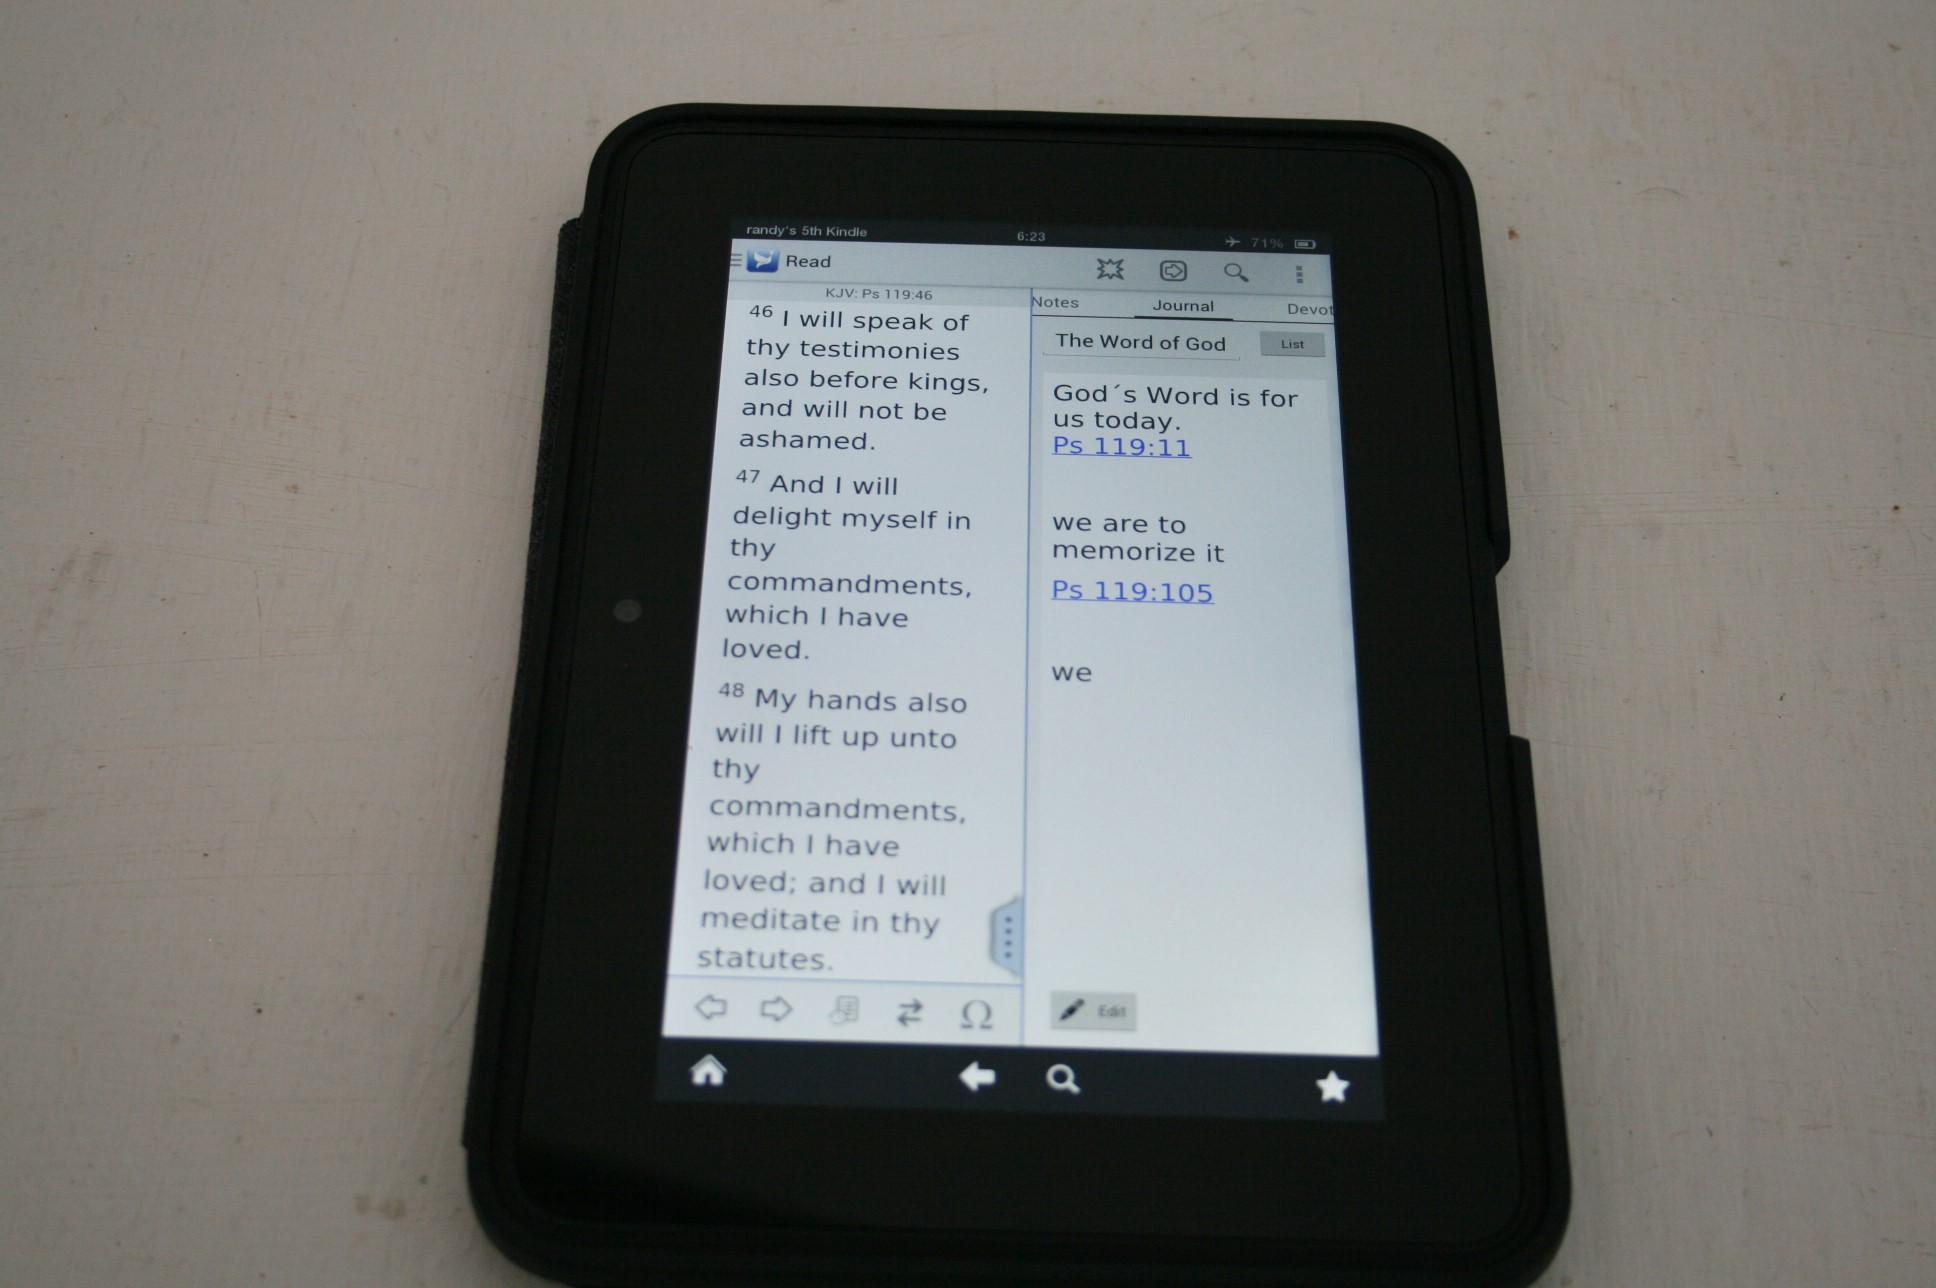
Journal – I create my sermon in the journal and view it in split-screen next to the Biblical text. This is my favorite method for using just a single device. The only problem is it doesn’t allow for copy and paste using the journal (at least not yet in the Kindle edition), so I have to write everything in the journal itself. The journal is not available for the Windows version (as of this writing, but they are working on it). Verses become links when you type them. This is part of the Advanced Feature Set (which I highly recommend).
PocketBible for Windows – you can also get PocketBible for desktop. It’s currently available for Windows 8. I’ve been beta-testing the Windows 10 edition of PocketBible. Features are still being added. If it does get the journal feature then I will create my sermons in that and sync my Kindle.
Preaching from a Kindle
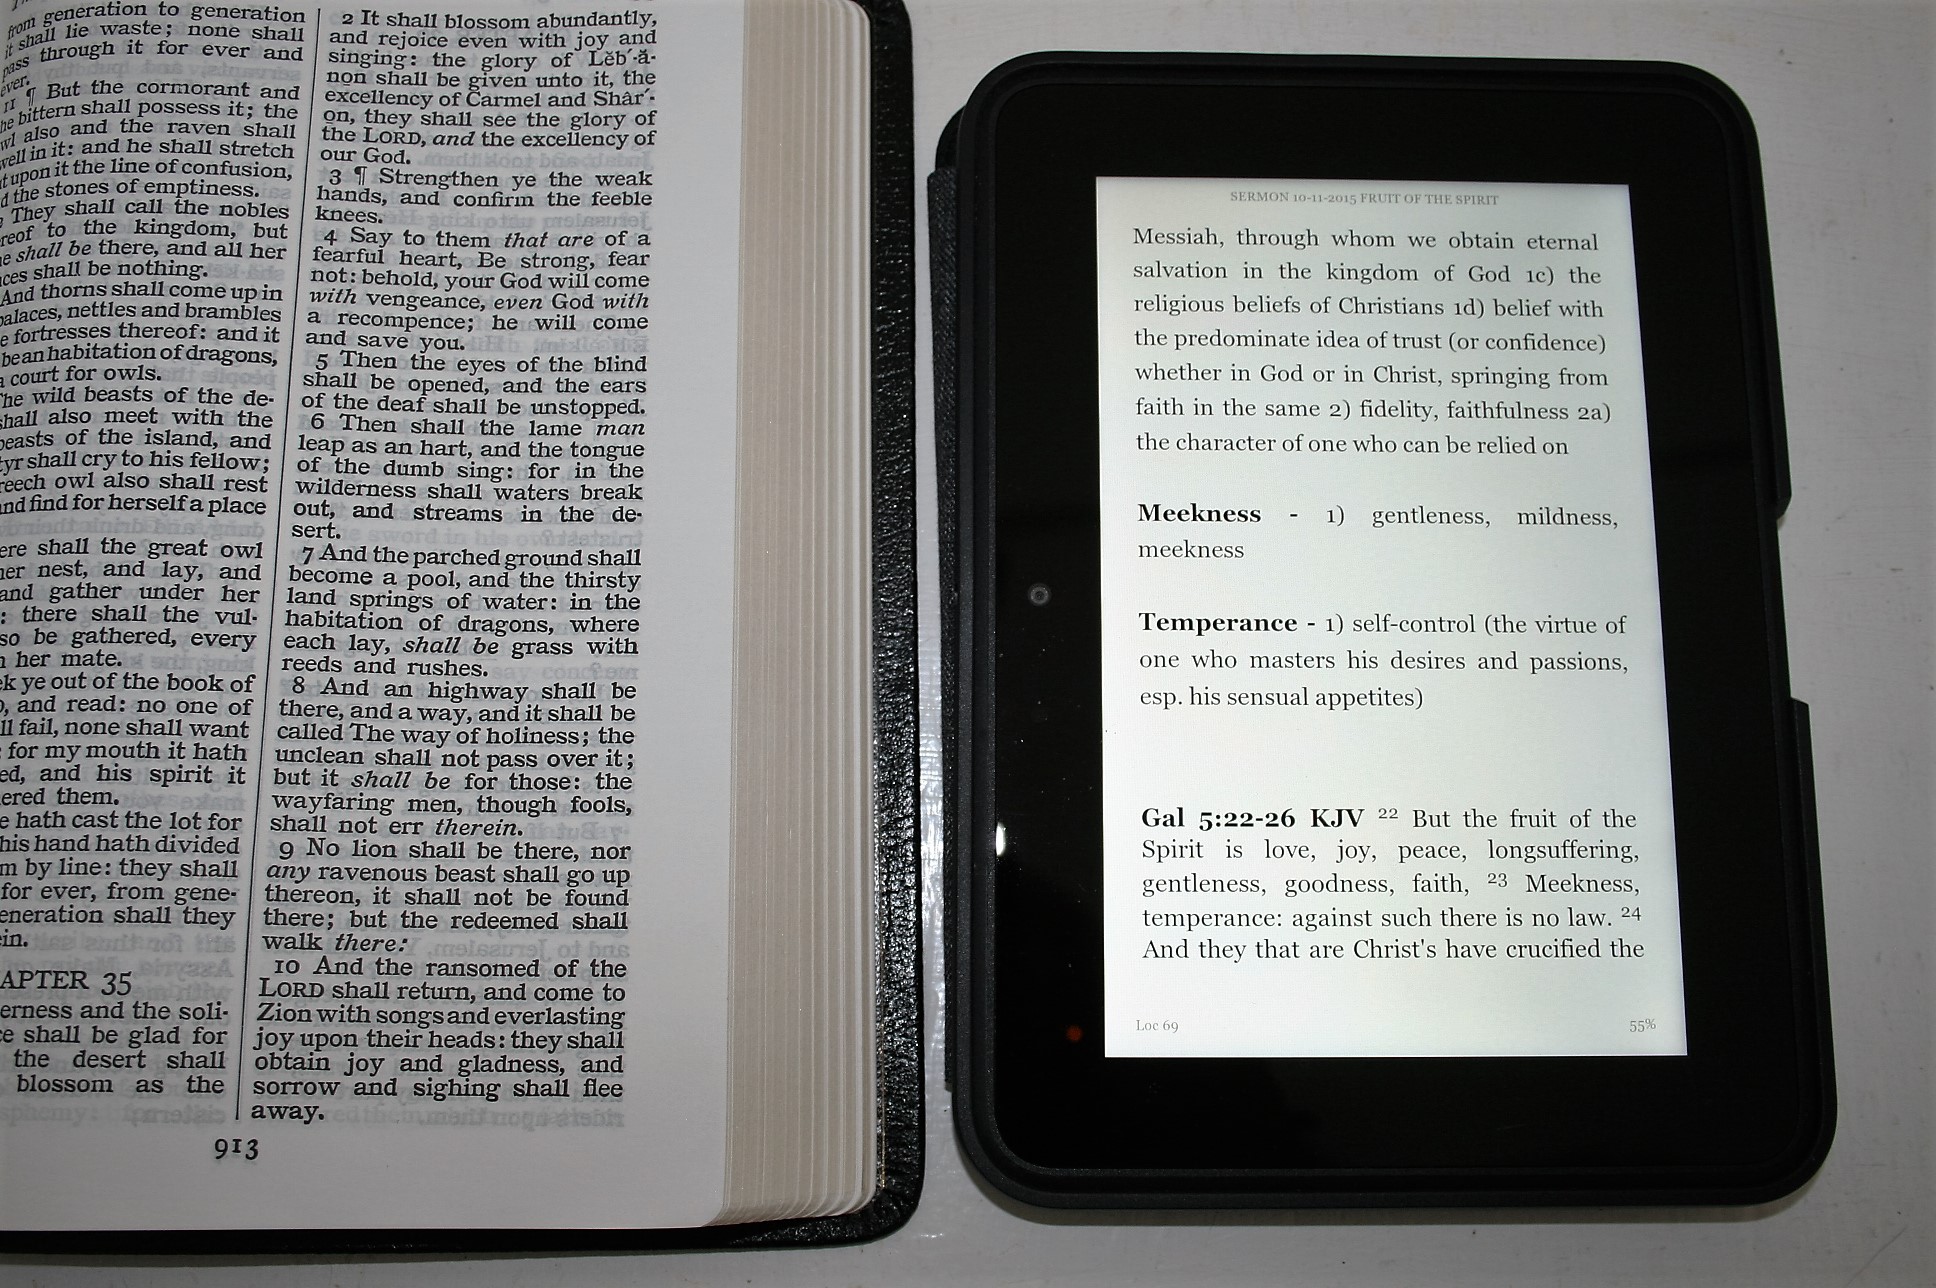
I like the Kindle format because I can resize the font, highlight the text, make notes, select a word to see a definition (this is very helpful if I forget what a word means or if I’ve pasted in something and I want to clarify a word). It also shows the percentage of completion, so I have an idea of where I am in the sermon.
Teaching from a Kindle
The exact same process works for teaching, but I sometimes like to teach directly from a book. When I teach from a book I don’t like to just read from it. I prepare ahead of time and highlight the main points that I want to discuss and add my own notes. This way I can glance at the page and see the highlights. I can read from it if I want to, I can read the highlights, or I can see the highlights and put it in my own words. When I see a note I’ll click on it and either read it or know what point I wanted to discuss. I can create my notes and highlights on the device, my smartphone, or my desktop and sync with my tablet.
The Steps Simplified
That was a lot of stuff happening, so here’s a simplified list of my steps:
Method 1 – using my PC to write the sermon:
Kindle:
- Write the sermon in Word or the BibleWorks10 editor.
- Convert the file to mobi using Calibre.
- Connect my Kindle Fire HD and paste the file in its documents folder.
EverNote:
- Write the sermon in EverNote.
- Open the EverNote app on my Kindle Fire HD and sync my notes.
PocketBible for Windows:
- Write sermon in PocketBible for Windows using the Notes feature.
- Open PocketBible on the tablet with WIFI turned on.
Method 2 – using the tablet to write the sermon:
- Write the sermon in the PocketBible Journal
I’m currently using method 1 with Word because it’s easier to access the documents and modify them for other purposes and I prefer the Kindle format for sermon delivery.
Final Thoughts
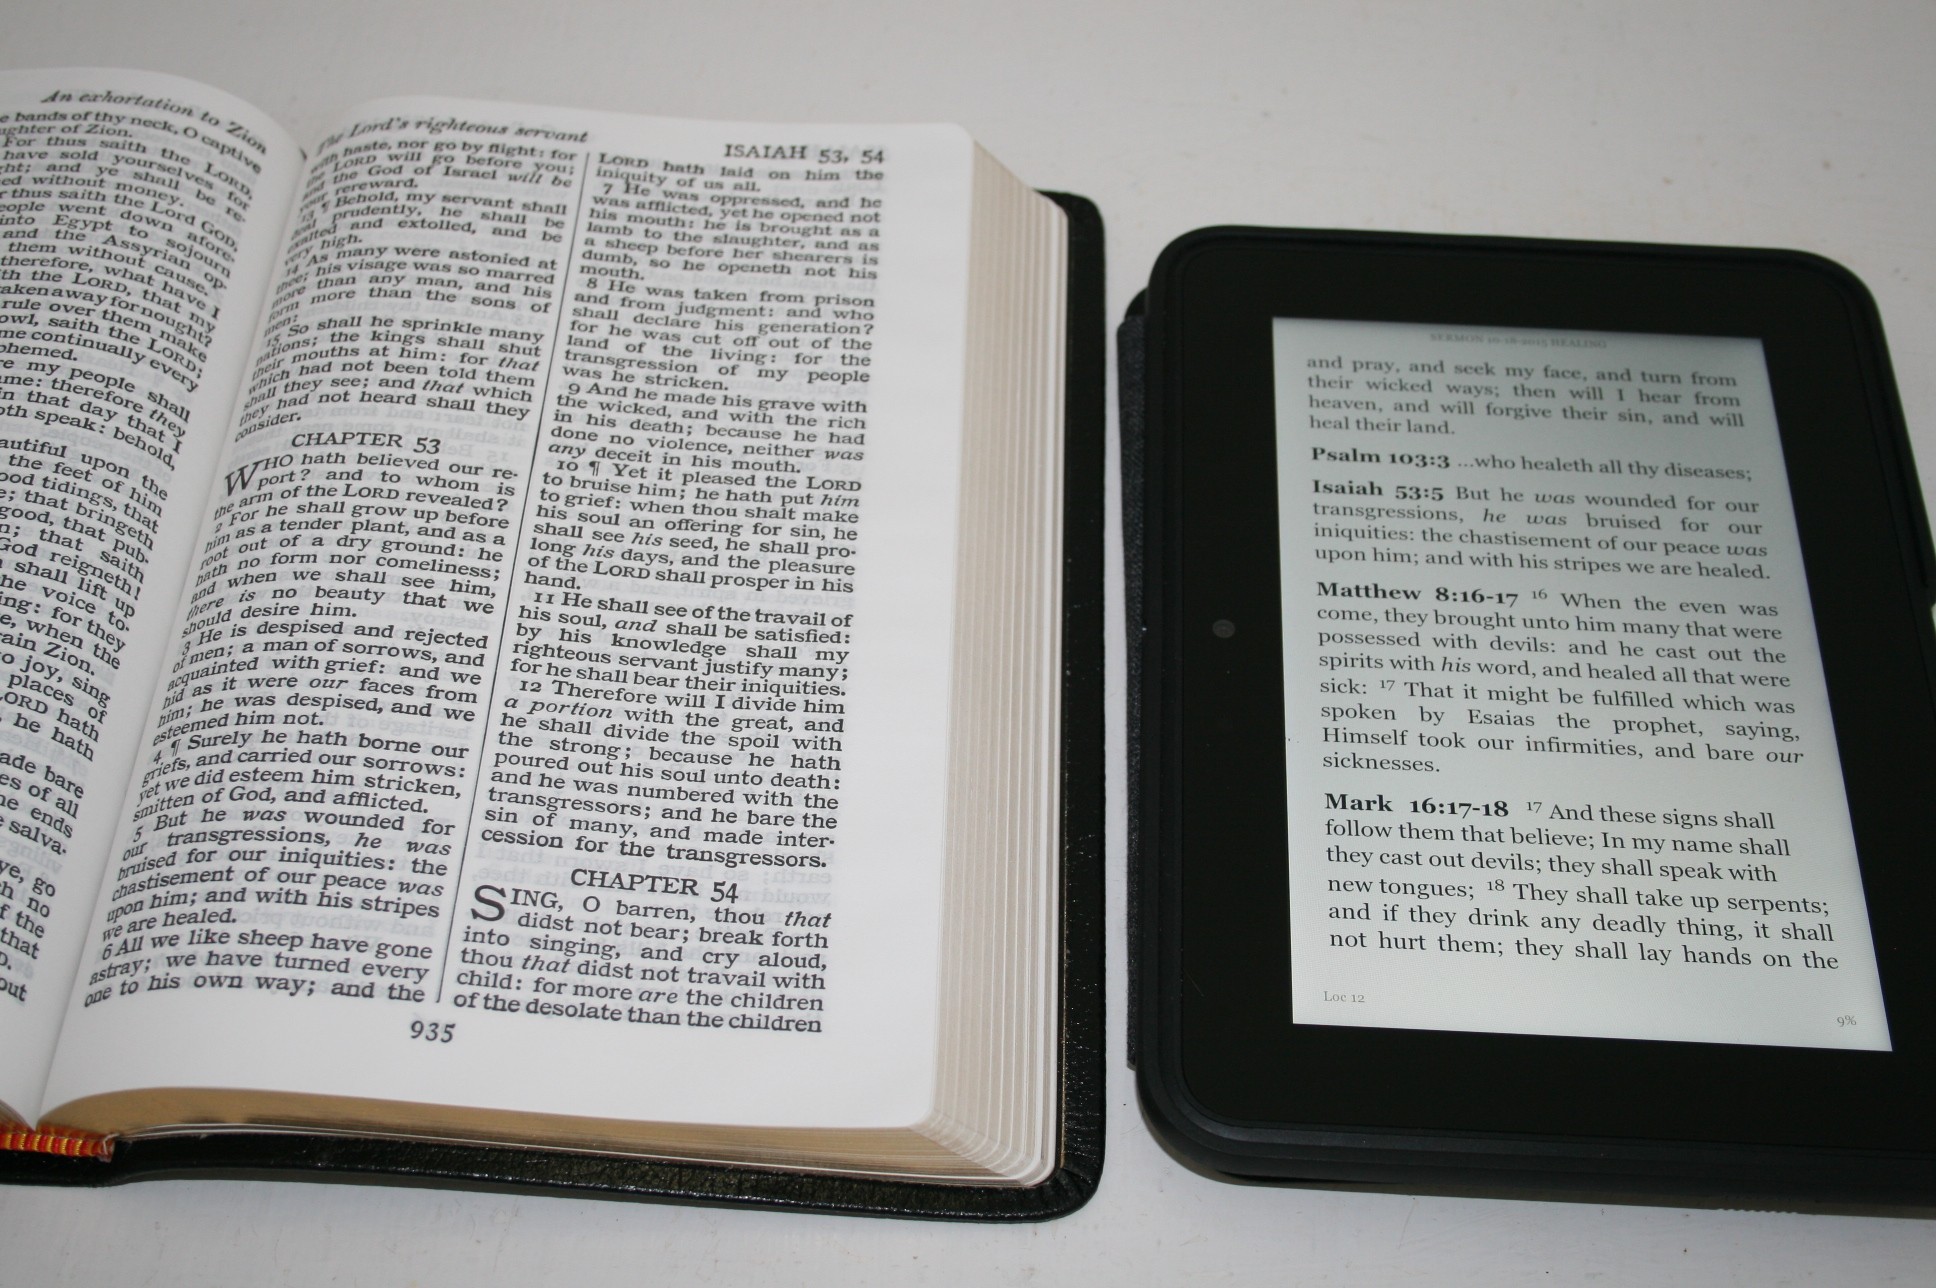
Well, that covers my methods and tips on using a tablet for preaching and teaching. I don’t intend for this to be a commentary on printed vs. digital. Using a printed Bible has its own benefits and I will always recommend using one, so I’m not suggesting that you replace your printed Bible with an app. There will always be a need for printed Bibles and sermon notebooks, but a tablet has so many benefits that it’s hard not to consider using one. Don’t think of it as print OR digital, but rather print AND digital. A tablet can be an excellent tool of the trade.
A tablet can give you have thousands of resources at your fingertips. You can change the font sizes, markup your books and Bibles and then edit the markings, store all of your sermons, and use it with your printed Bible or by itself. The prices have dropped so dramatically that they’re not just luxury items anymore. With the many free apps available, ease of use, and lower prices, a tablet can make an excellent sermon notebook.
To buy, I recommend checking out Amazon’s listing for best-selling tablets.
How about you? Do you preach from a tablet? Do you use a method I’ve discussed here? Did I leave out your favorite app? Do you have something to add? Let us know in the comments below.


Brother, I have been using an iPad for nearly 3 years in pulpit ministry. I have the 9.7″ version. I am using a Windows 10 Laptop and the following software: eSword and Logos 5 Gold, Word for Windows, Dropbox for Windows (For file sharing), Adobe Reader for iPad for viewing my notes.
My process flows as such:
1. Prepare on Laptop with Word, utilizing eSword and Logos, along with physical Bible (currently Longprimer) I will save in Word format for retention purposes.
2. Change font to 18pt and save as .pdf to Dropbox for access from iPad
3. Use iPad to get the doc in Dropbox, then “open in” Adobe
4. Adobe allows me to mark up the document with highlights, freehand, additional text blocks,etc. This is how I finish the review on Sunday morning.
5. Preach from the Adobe version of my notes.
6. Read from my Longprimer Bible
This way doesn’t require wi-fi access during preaching. It is saved on the iPad.
This has worked well thus far. I will quickly add that, lest I look like a wealthy preacher, I was gifted Logos 5 Gold and the Longprimer and the iPad over the last 3 years. Yes, I am spoiled and have a generous flock of people!
Thanks, Brian
Why do you still use eSword since you have Logos? I have Logos 7 now, but I haven’t used eSword since I got Logos 6. The difference is exactly what you would expect in comparing a freebie with a pro-grade tool.